Create a DayZ game server
- In this guide, we will show you how to install and run the DayZ server yourself using Windows 10 as an example
- Before starting the installation, you must select and order virtual server plan
- After ordering and activating the server, you can start creating the DayZ server
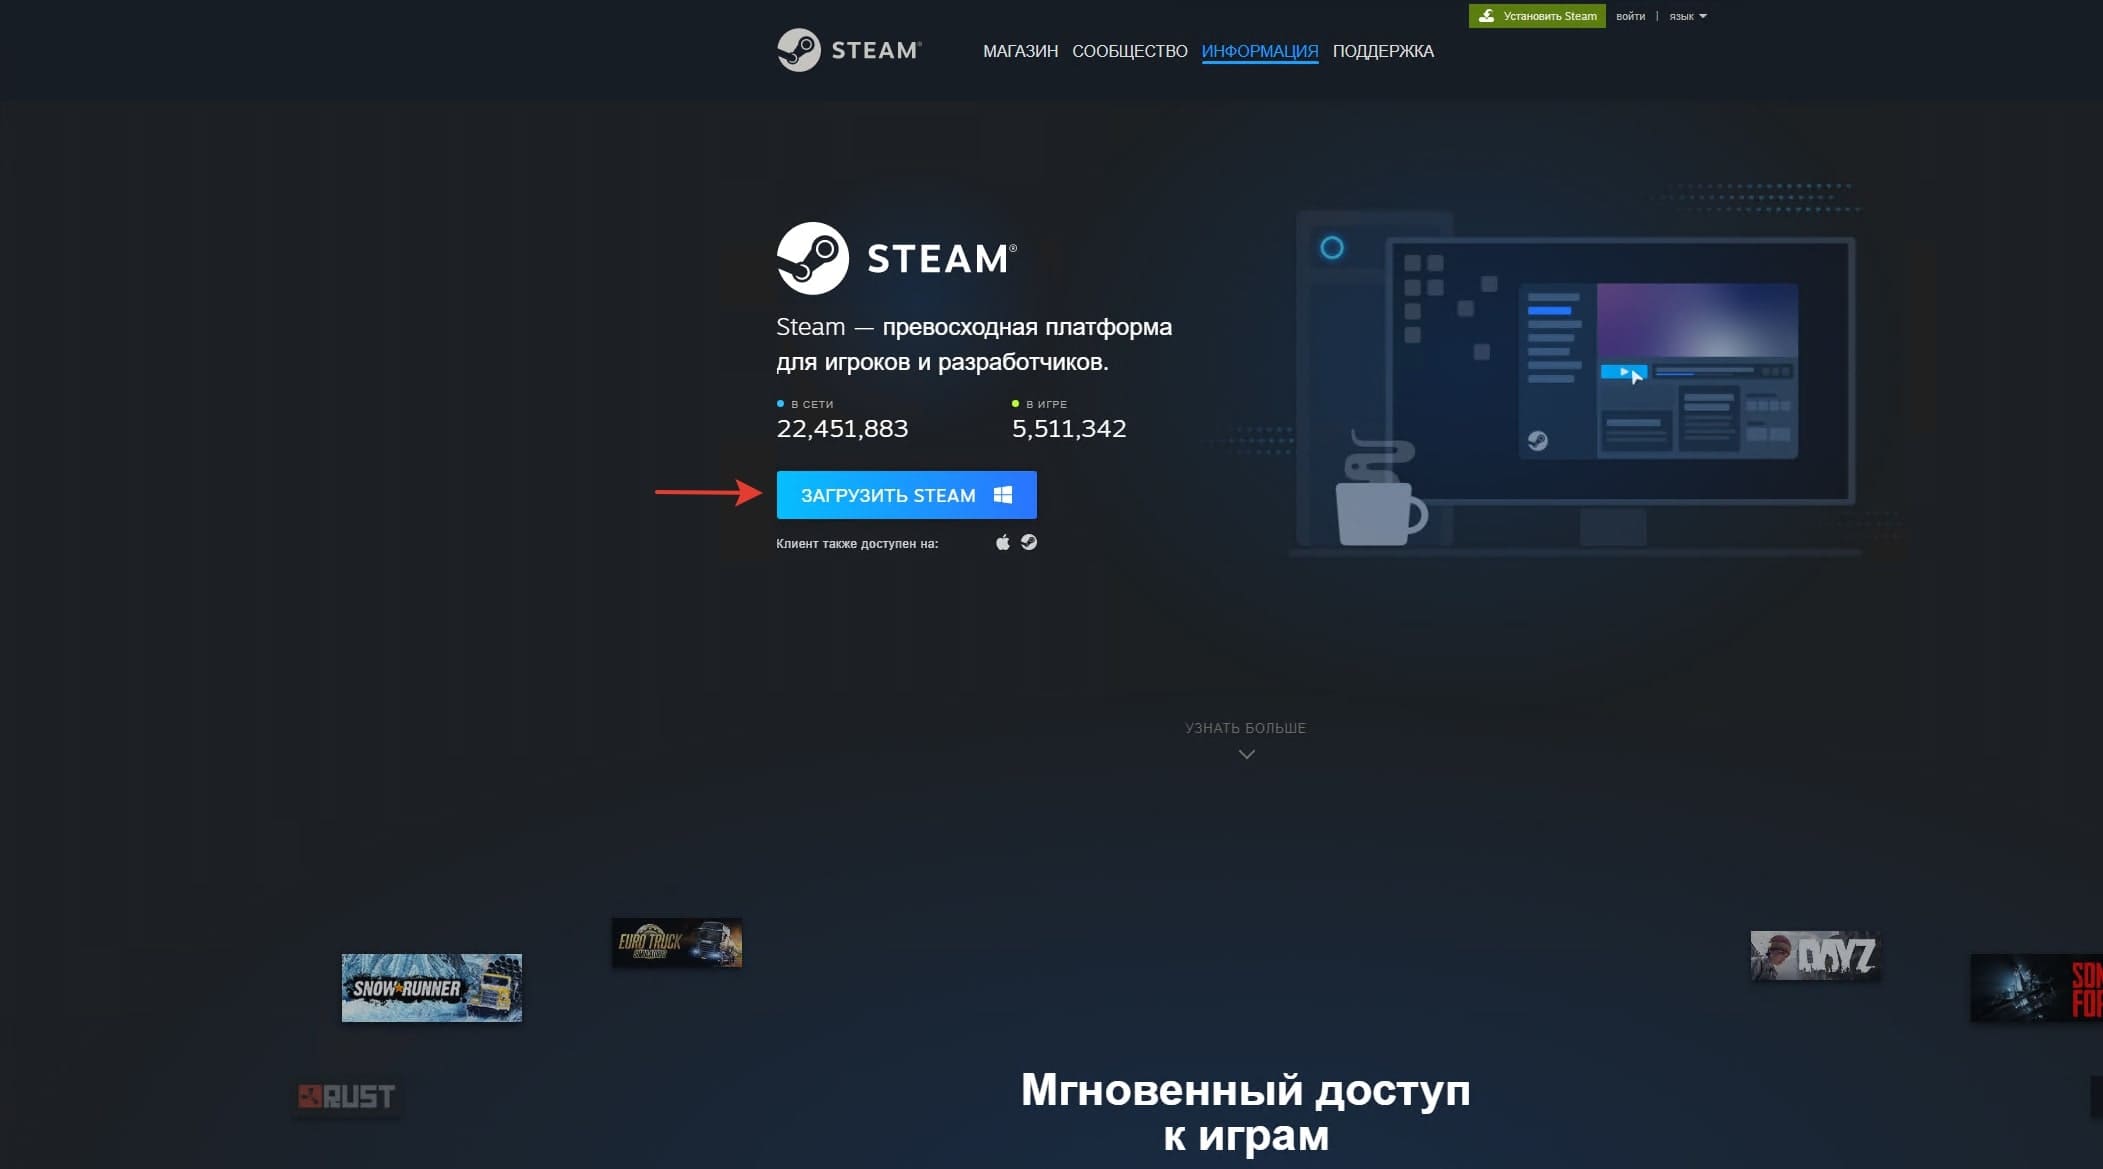
- In order to install the game server, you will need an active account in the Steam online service
- If you need help with the installation, you can create a technical support request and we will install the DayZ game server for free on your vds
Installing the game server
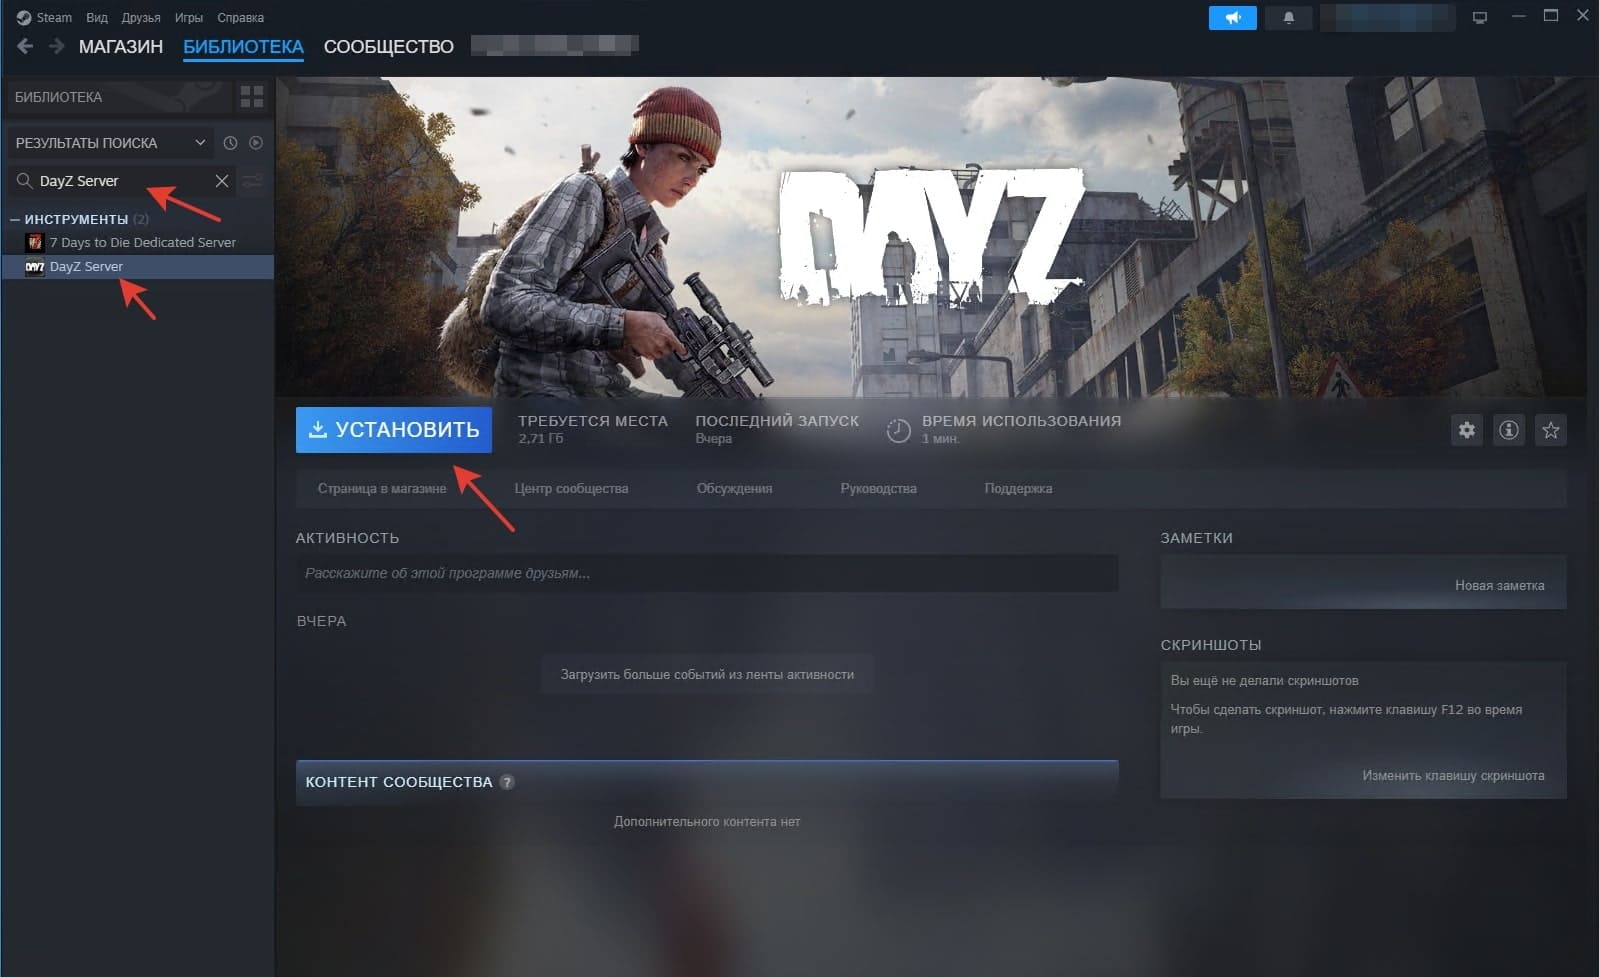
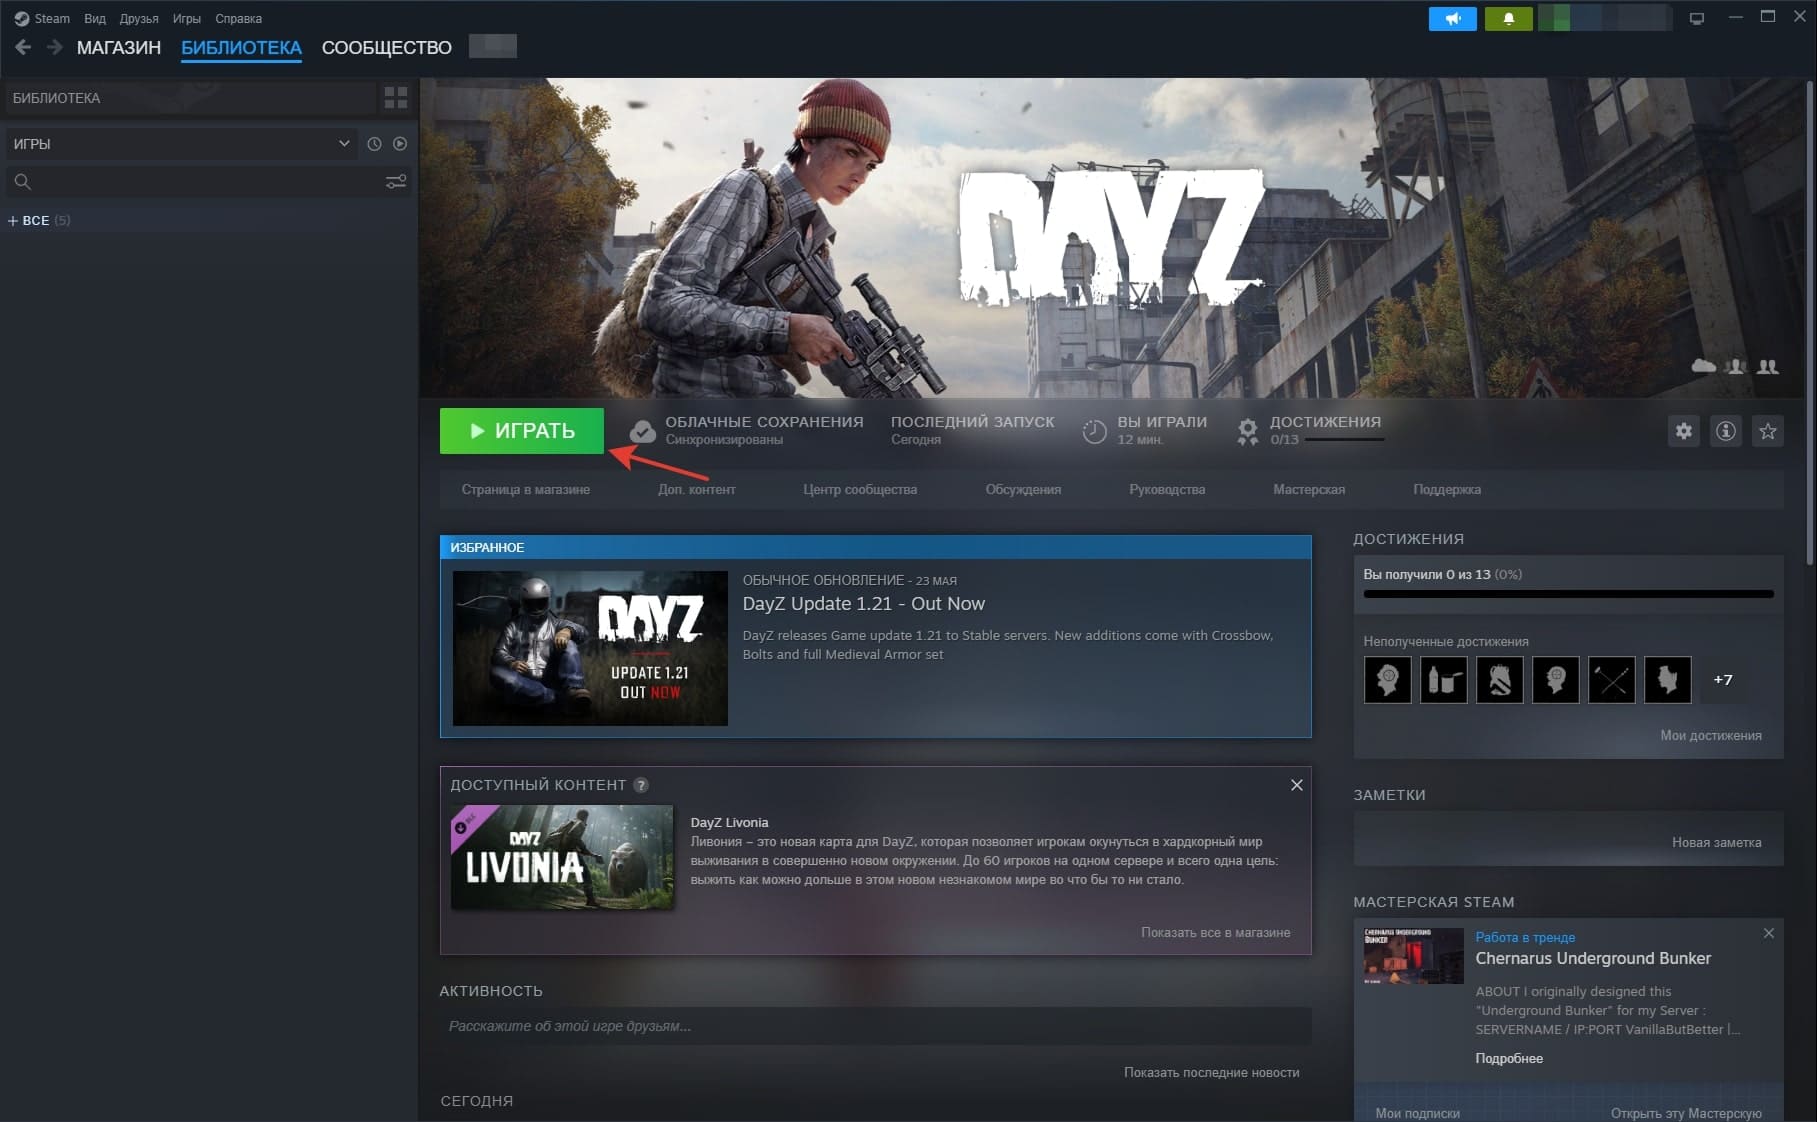
You need to connect to the server via RDP, install the Steam program client and log in under your account. Once Steam is installed and logged in, open the "Library" menu and in the "Tools" field enter DayZ Server. Install the found game server, wait for the download to finish.
Server configuration
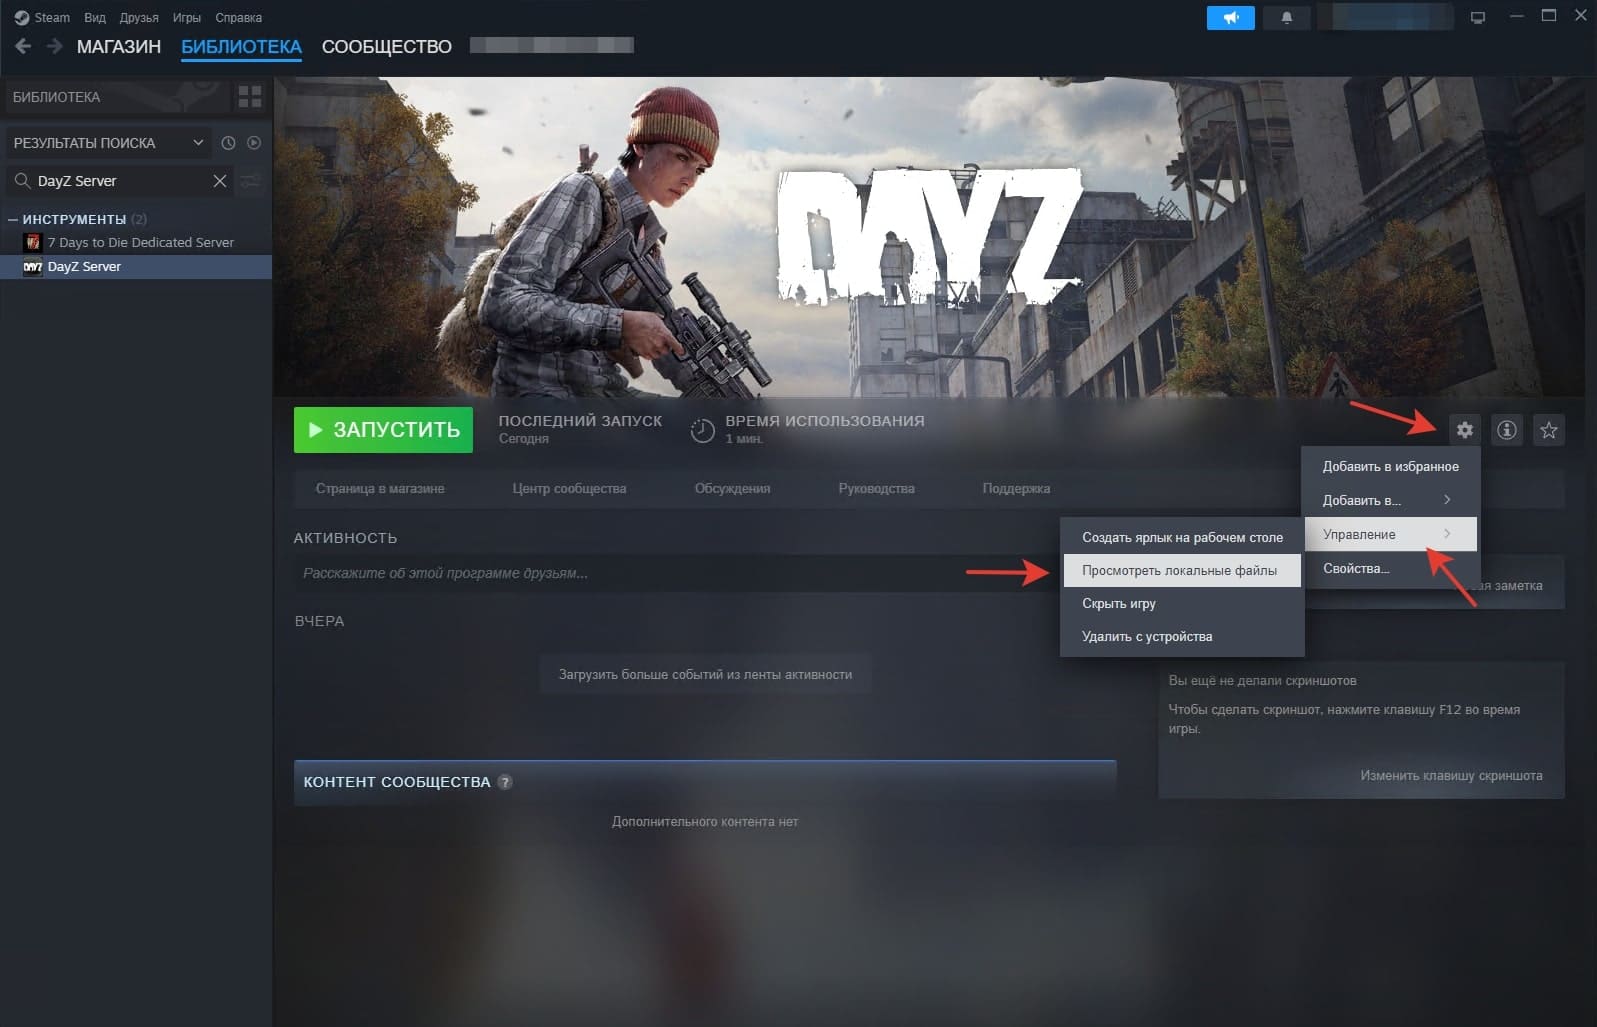
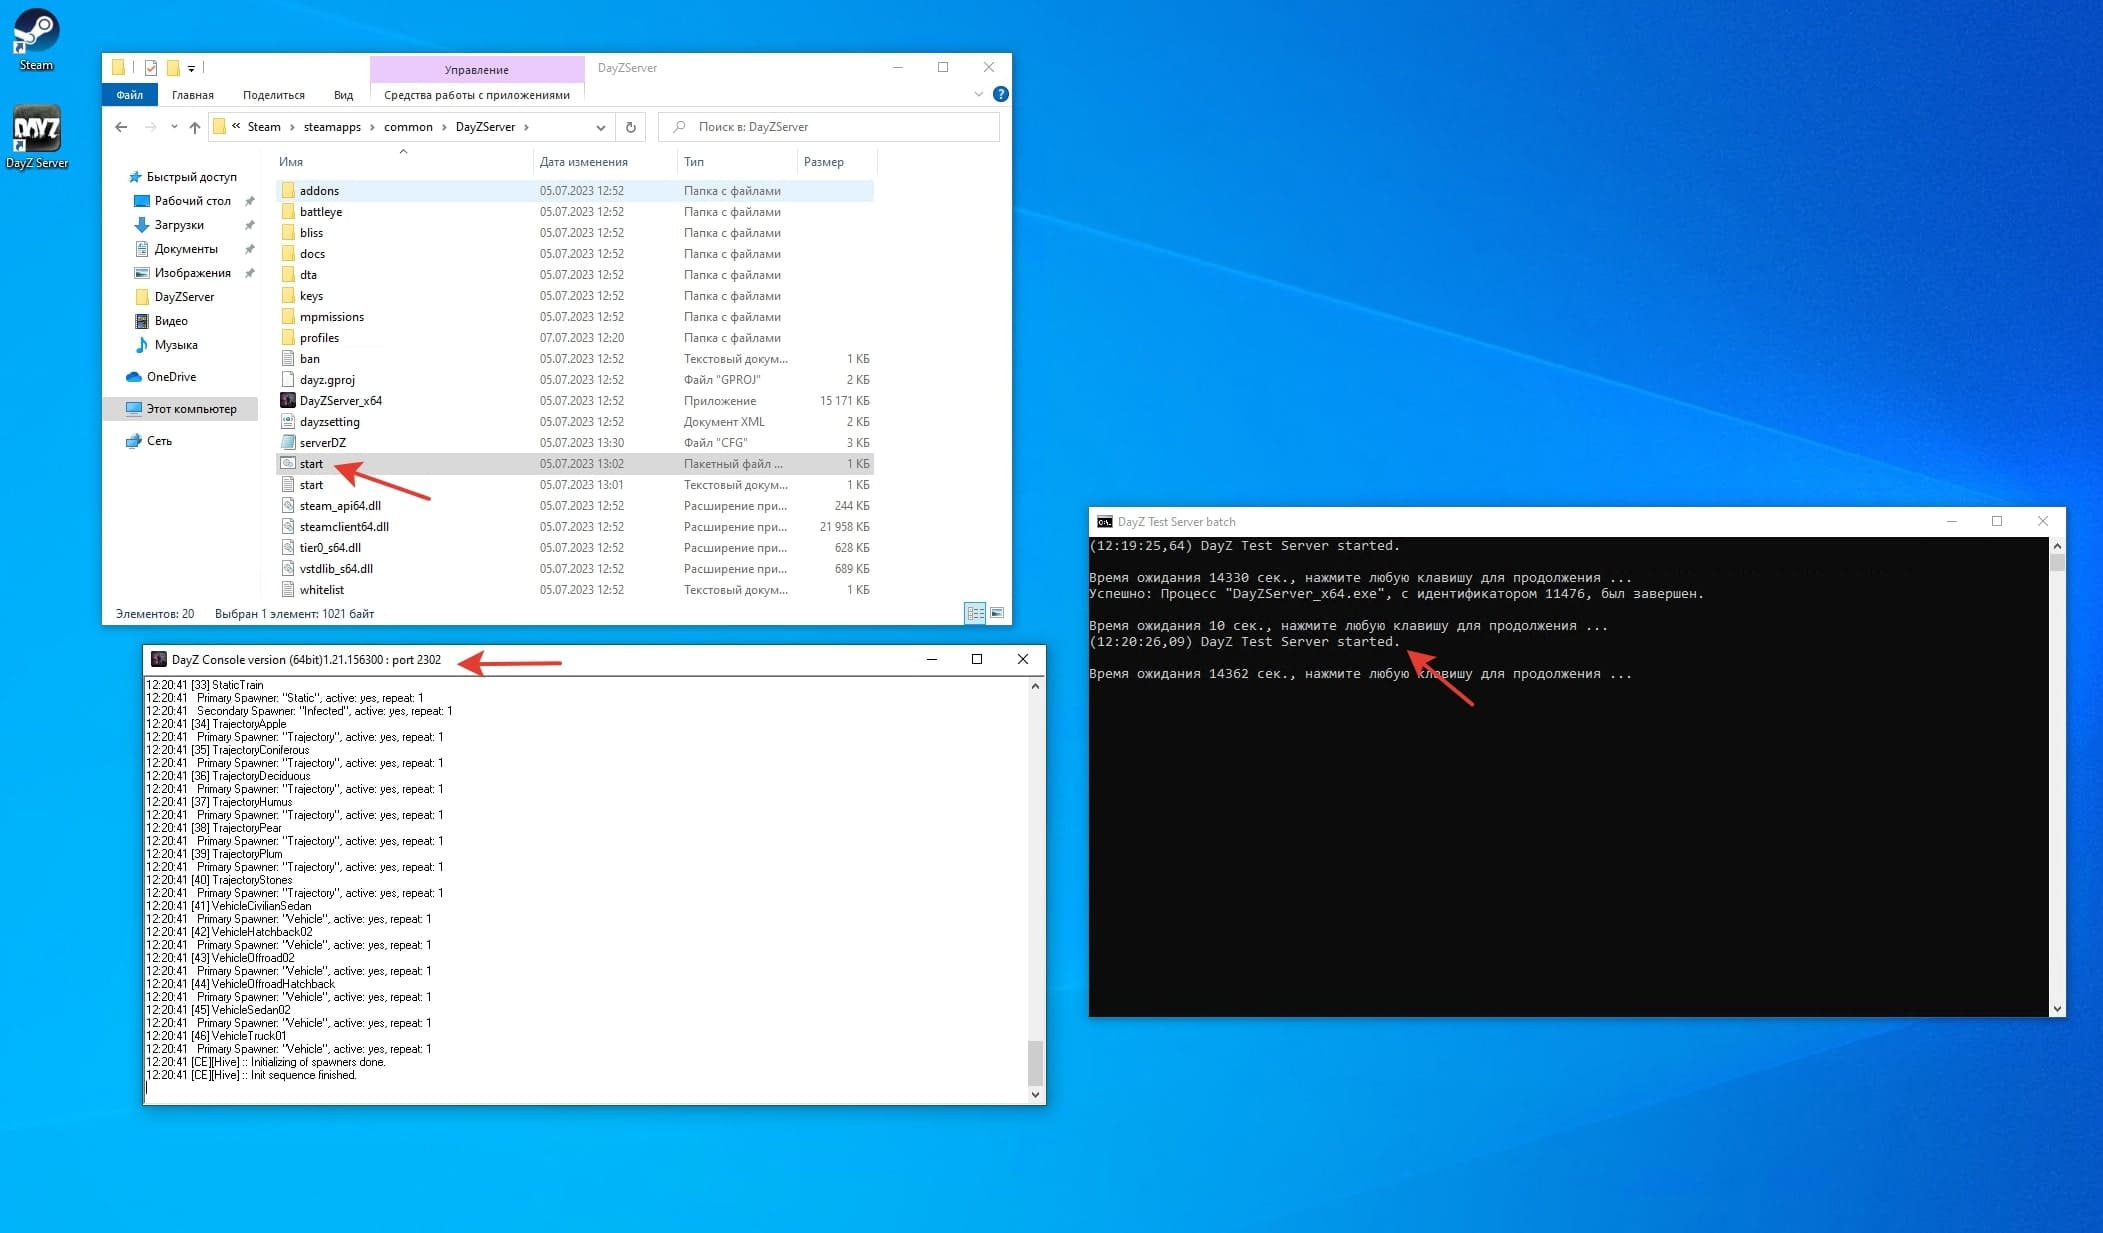
After the installation is complete, you need to go to the game server files. This can be done in the steam client as shown in the screenshot below.
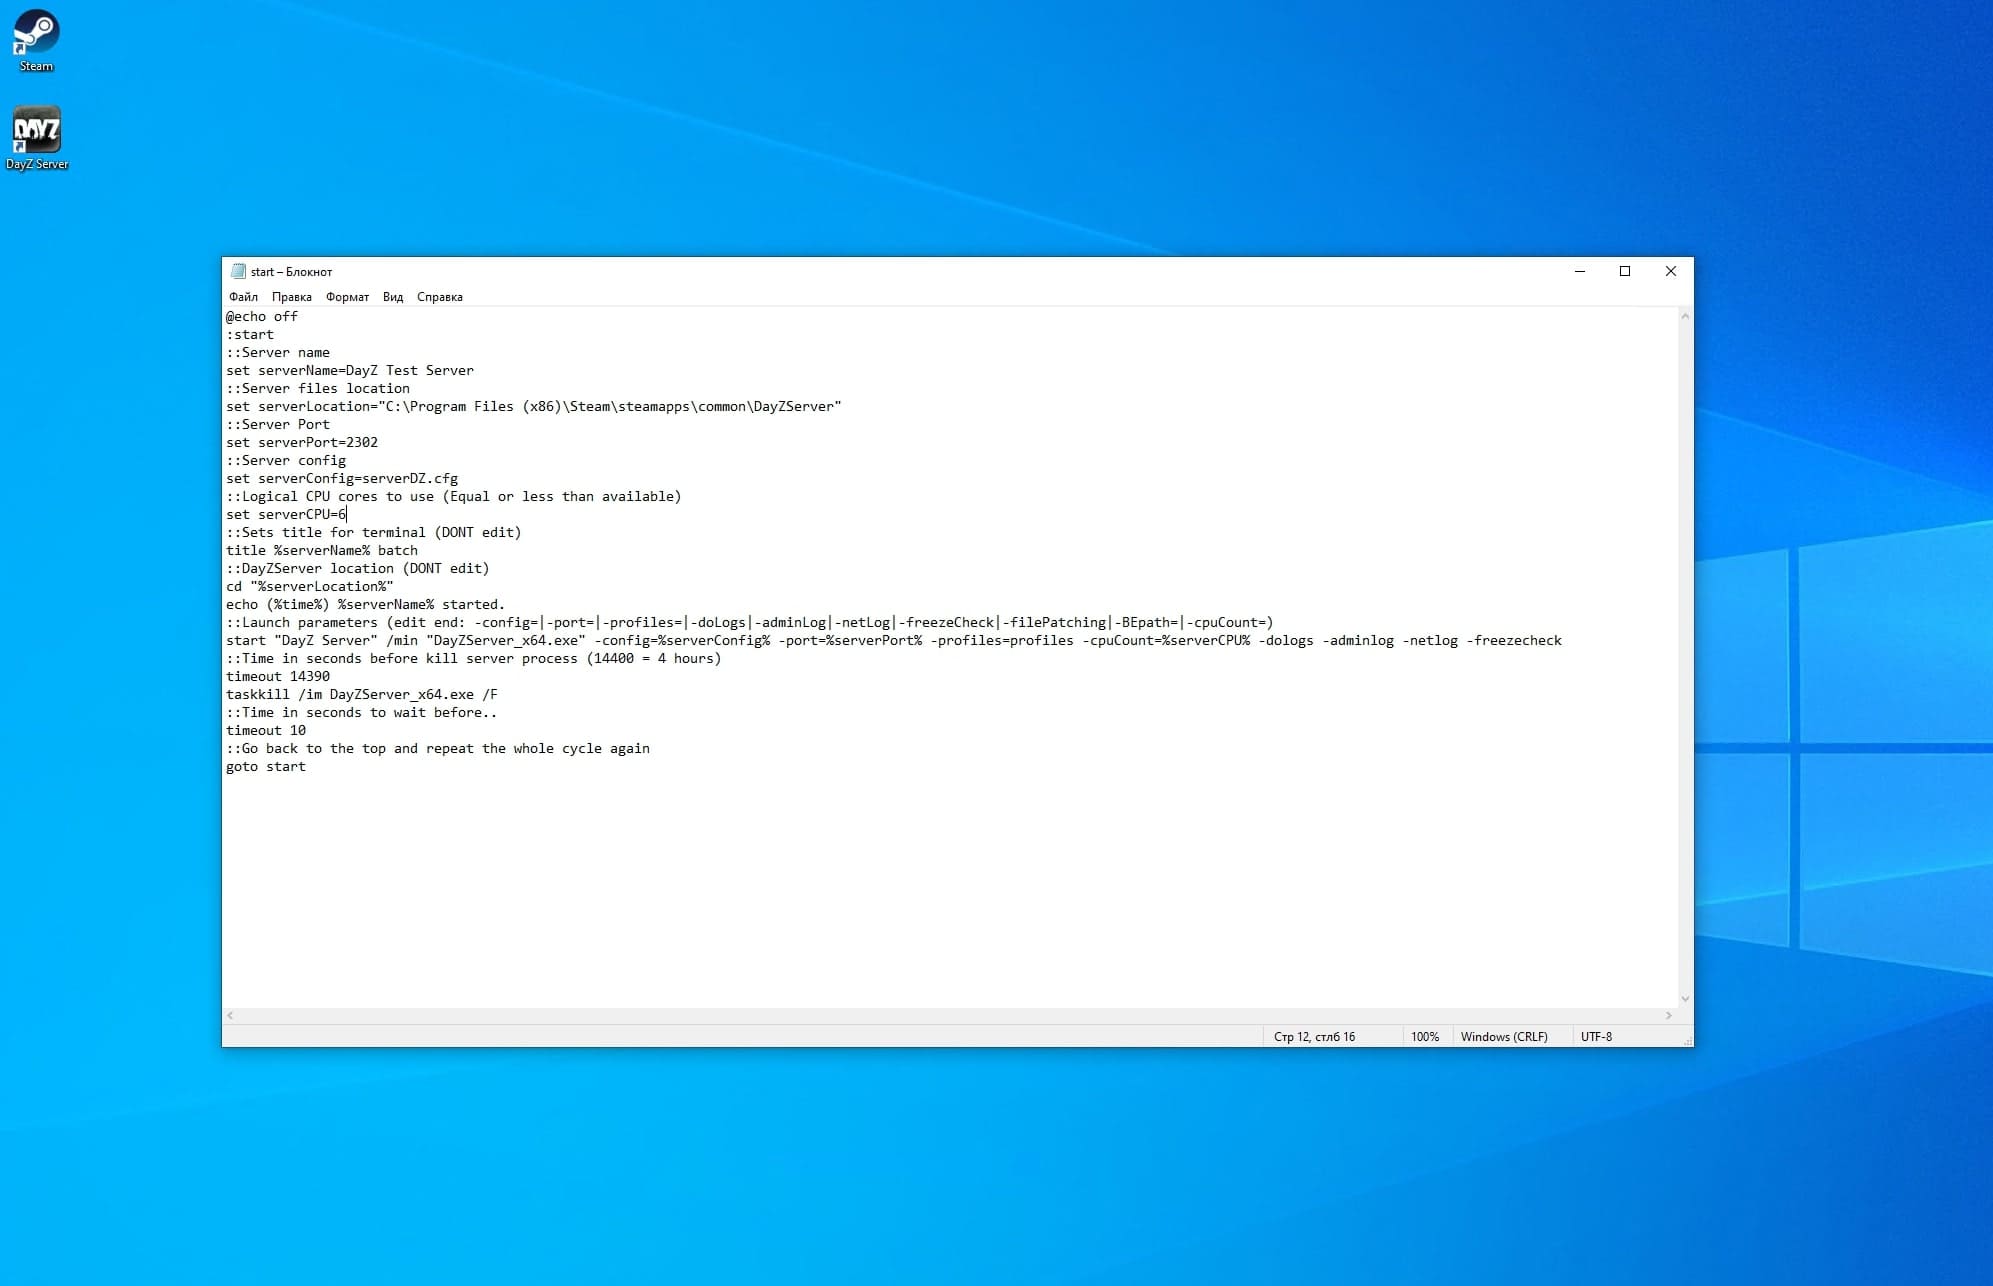
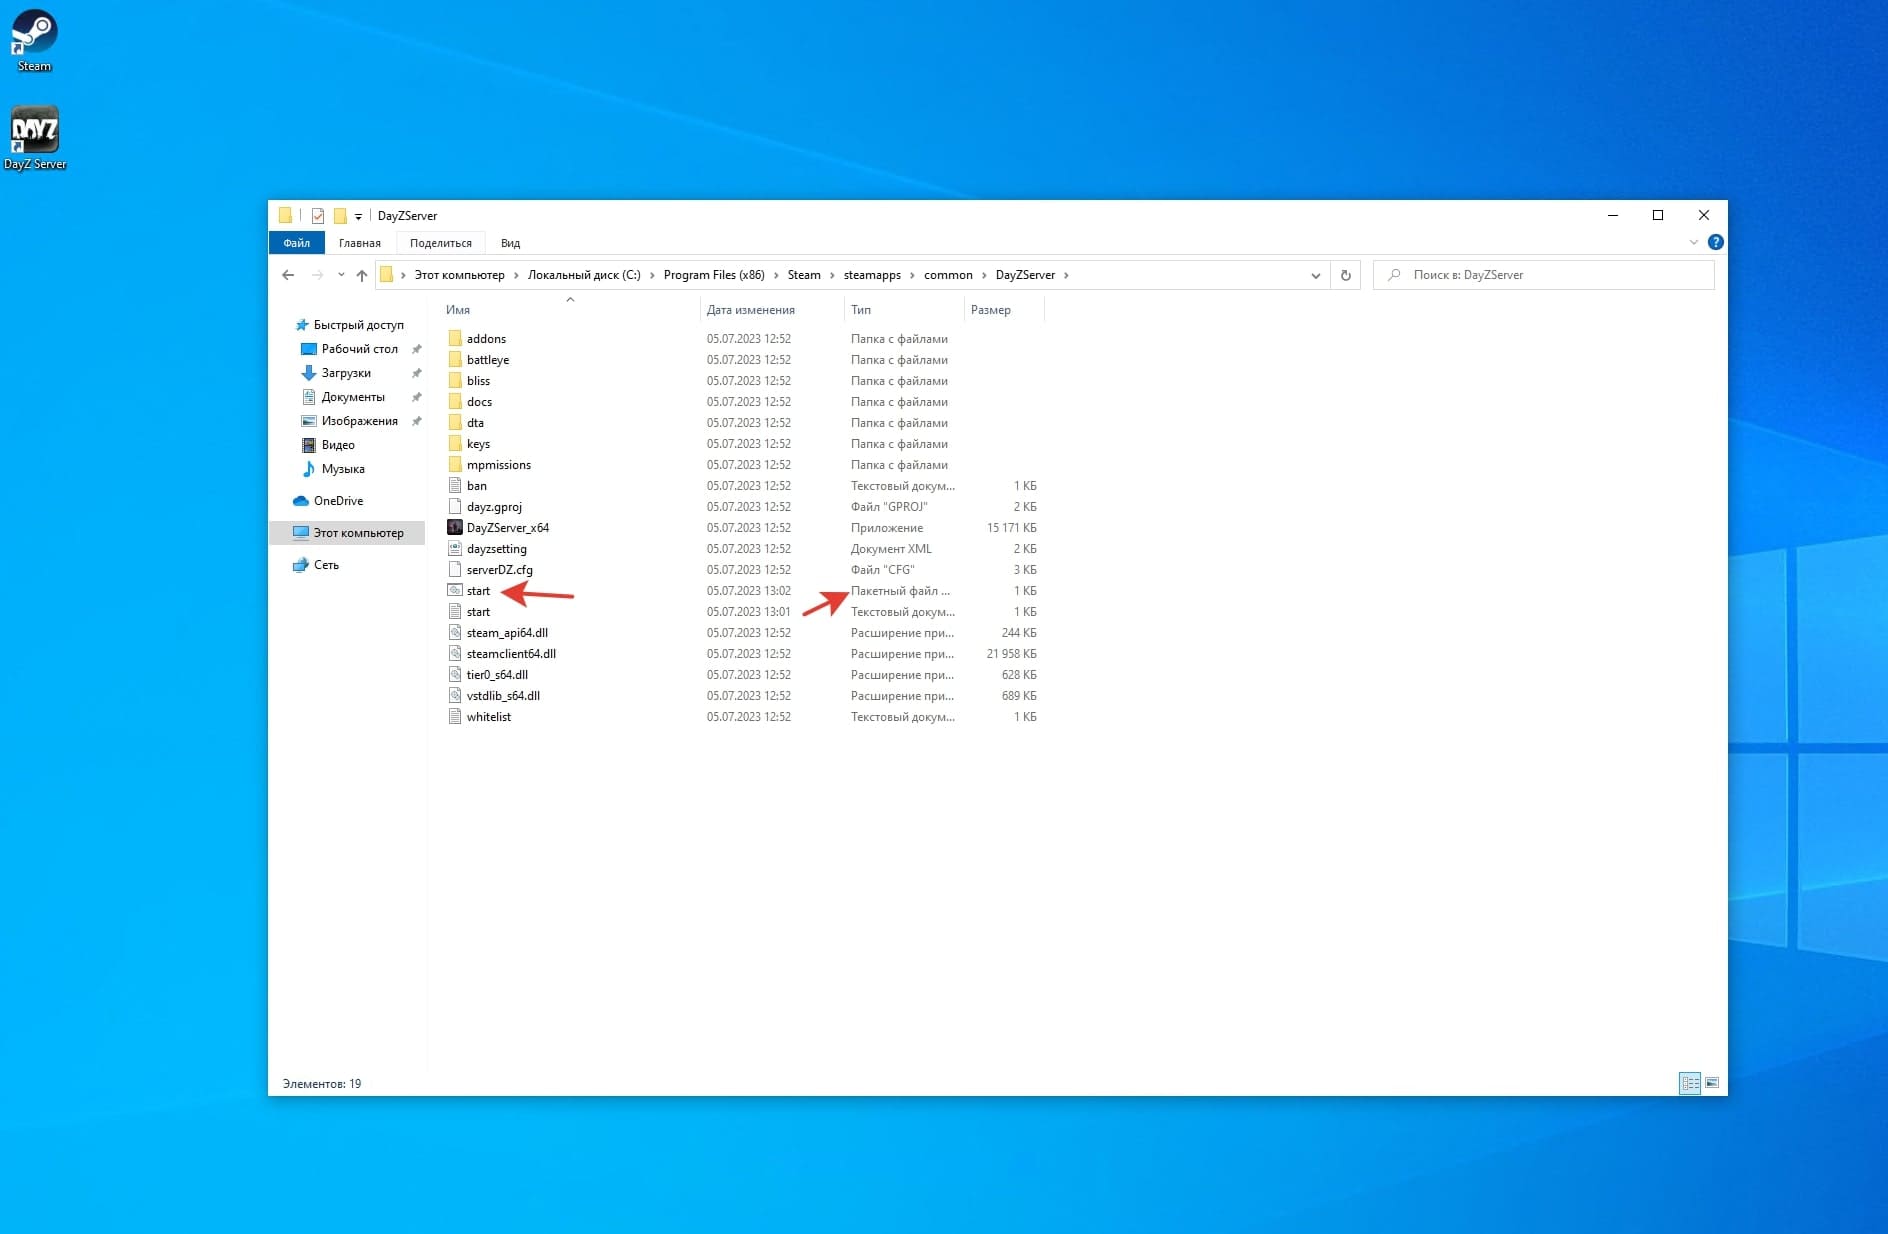
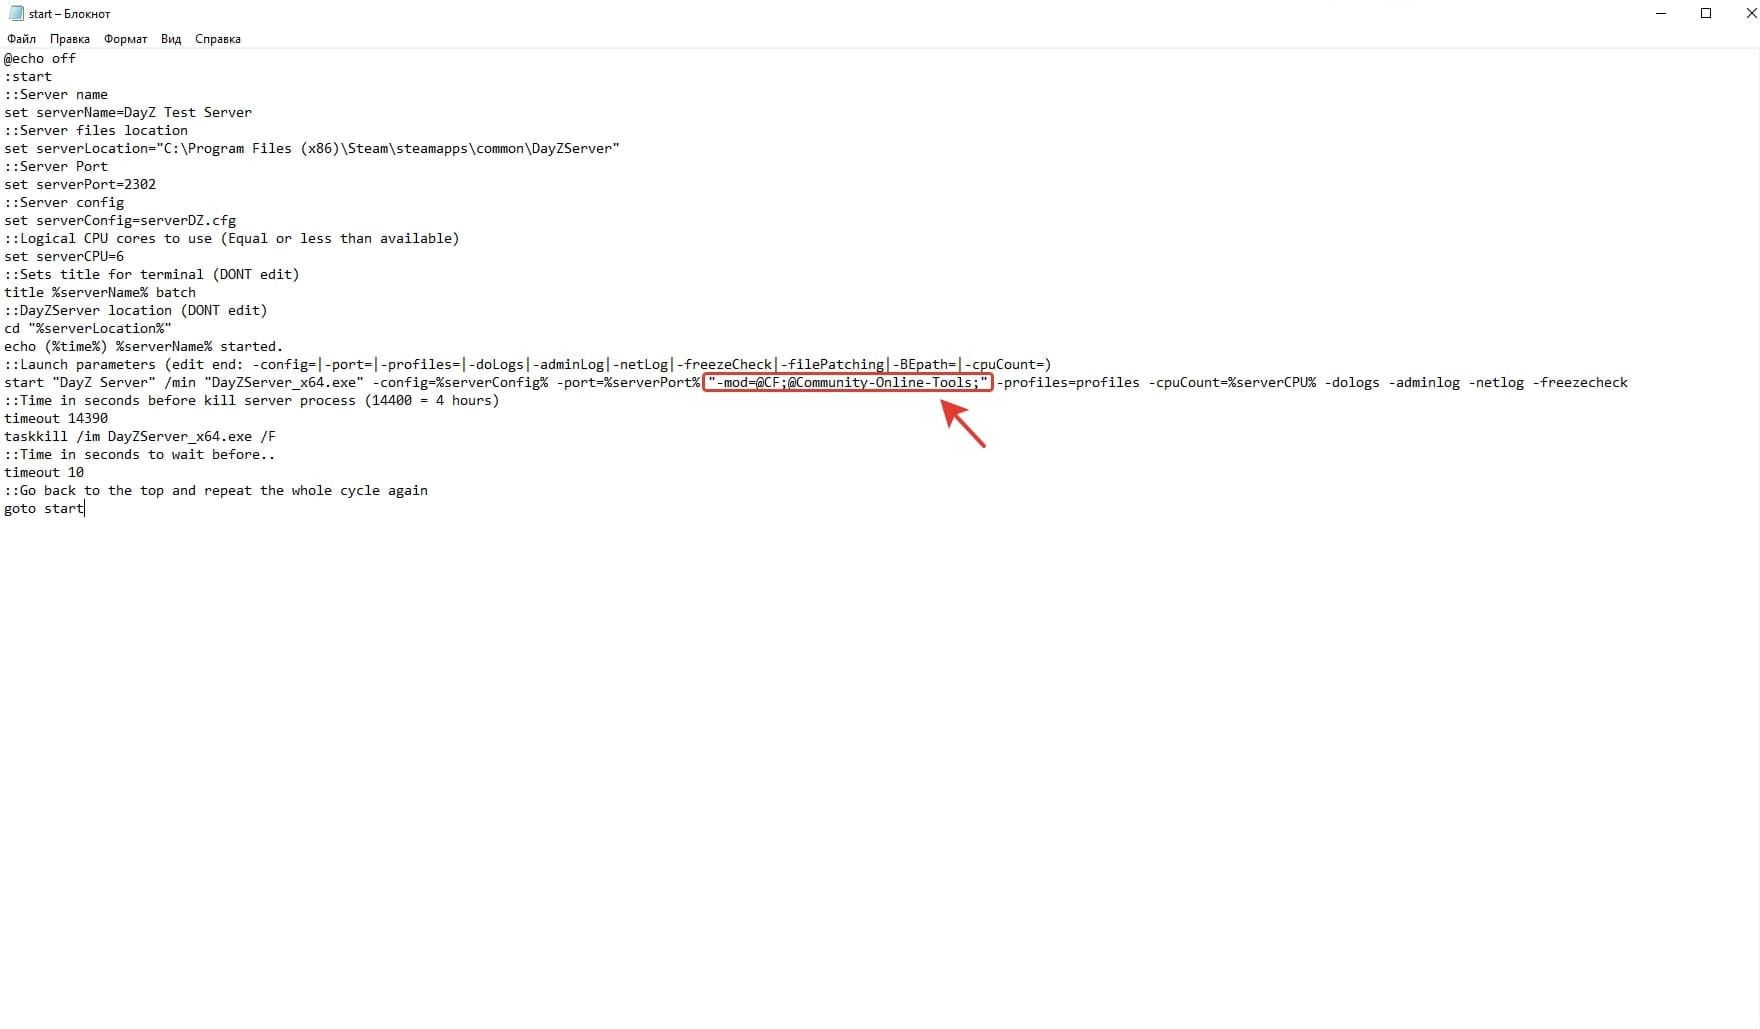
Add a .bat file to the root directory of the server, which will launch the game server. You can download file from our website.
In the file (in our case, the file name start.bat) you need to adjust some values, "serverName" (name of your server), "serverLocation" (path to the directory with the installed server),
"serverCPU" (the number of cores that the game server will use. The maximum value should not exceed the number of cores on your server).
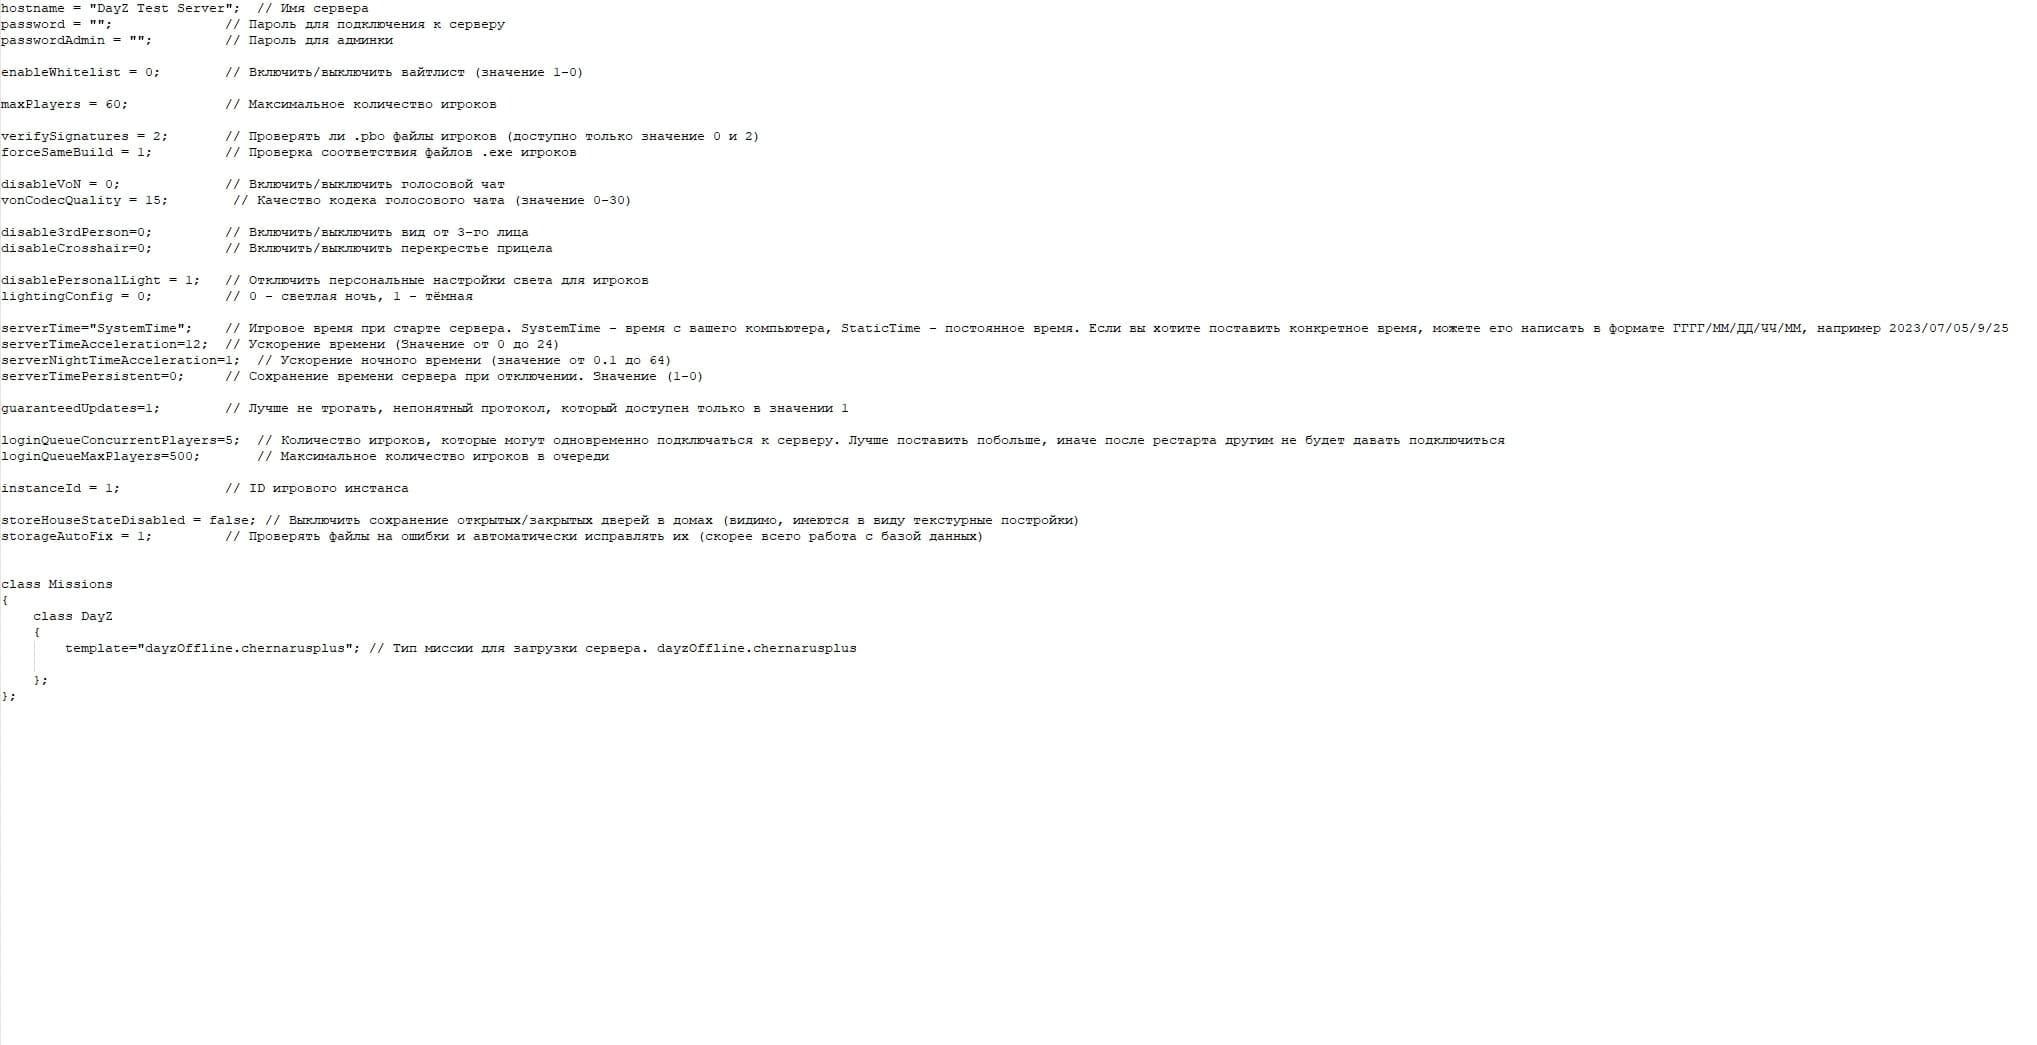
Next, you need to configure the server configuration file serverDZ.cfg, which is automatically created during server installation. The setting is made according to your preference. In the screenshot below you can see the contents of this file, with a description of the values.
Connecting to the game server
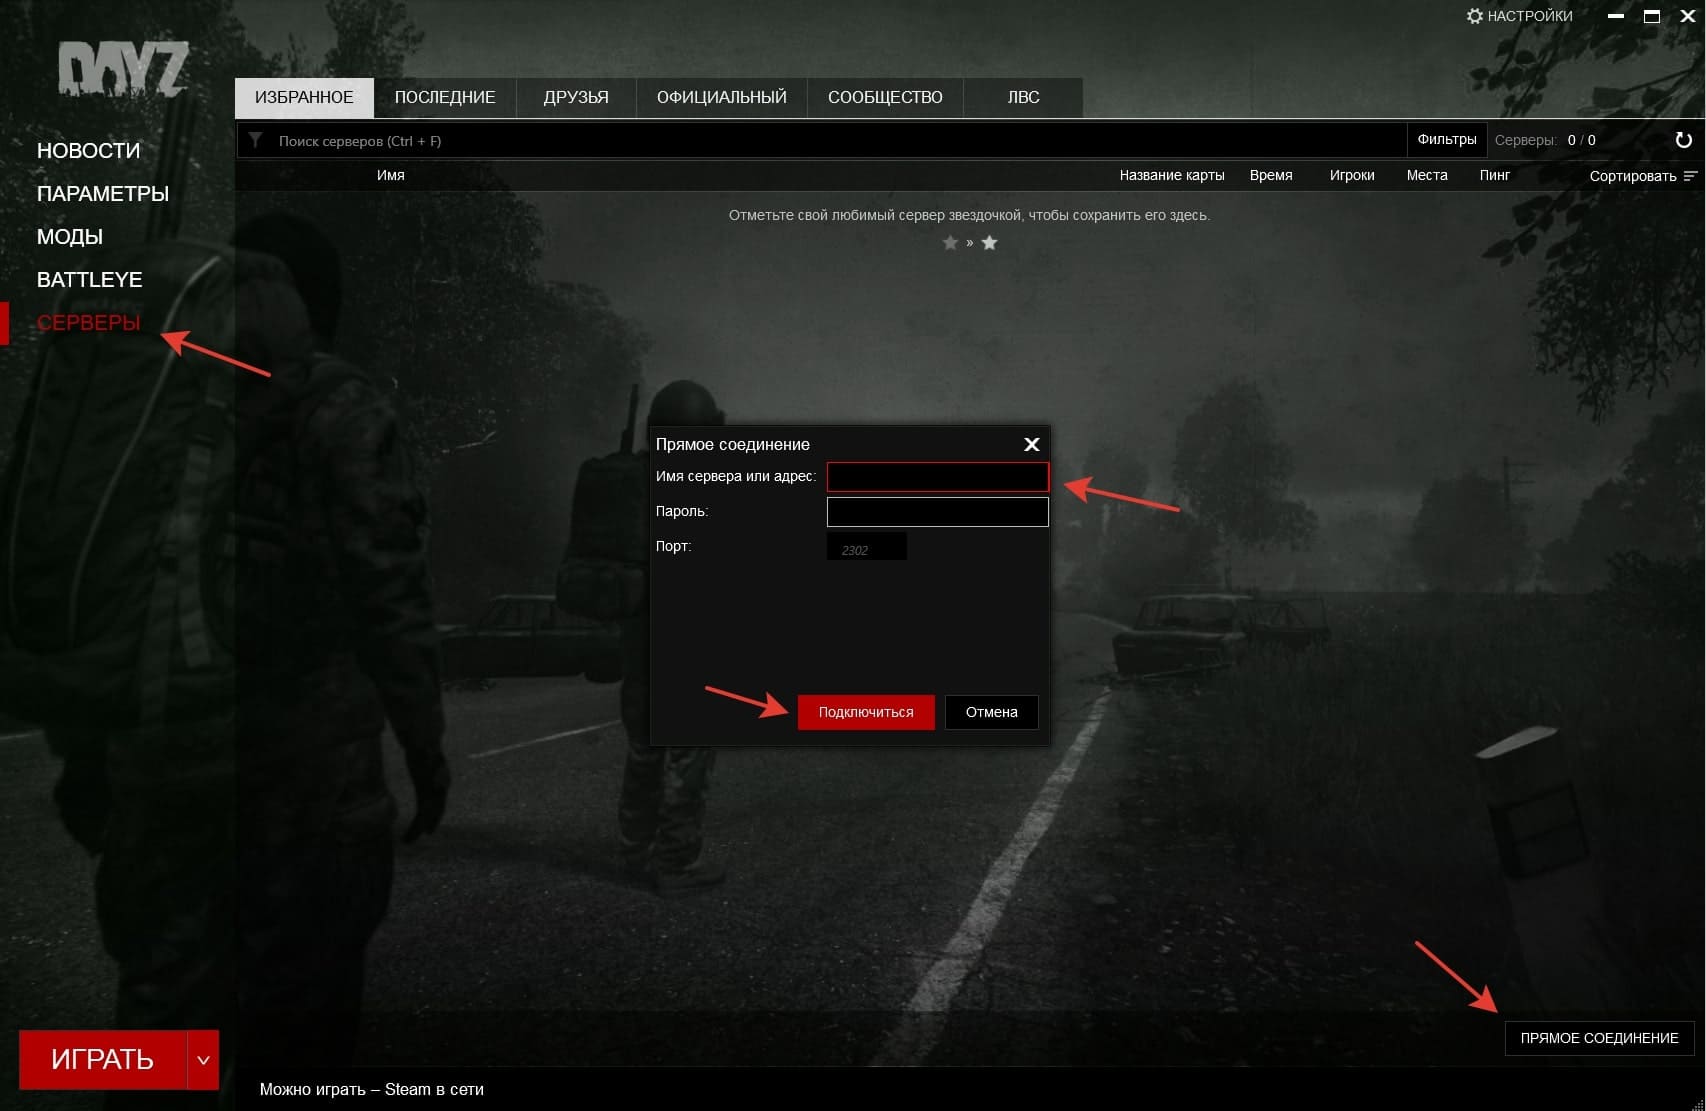
Start the game server using the generated start.bat file. Then install and launch the DayZ game client in your Steam account. To connect to your server, open the Servers tab and select "Direct connection". Then enter the IP address of your server and click "Connect".
Installing the DayZ admin mod
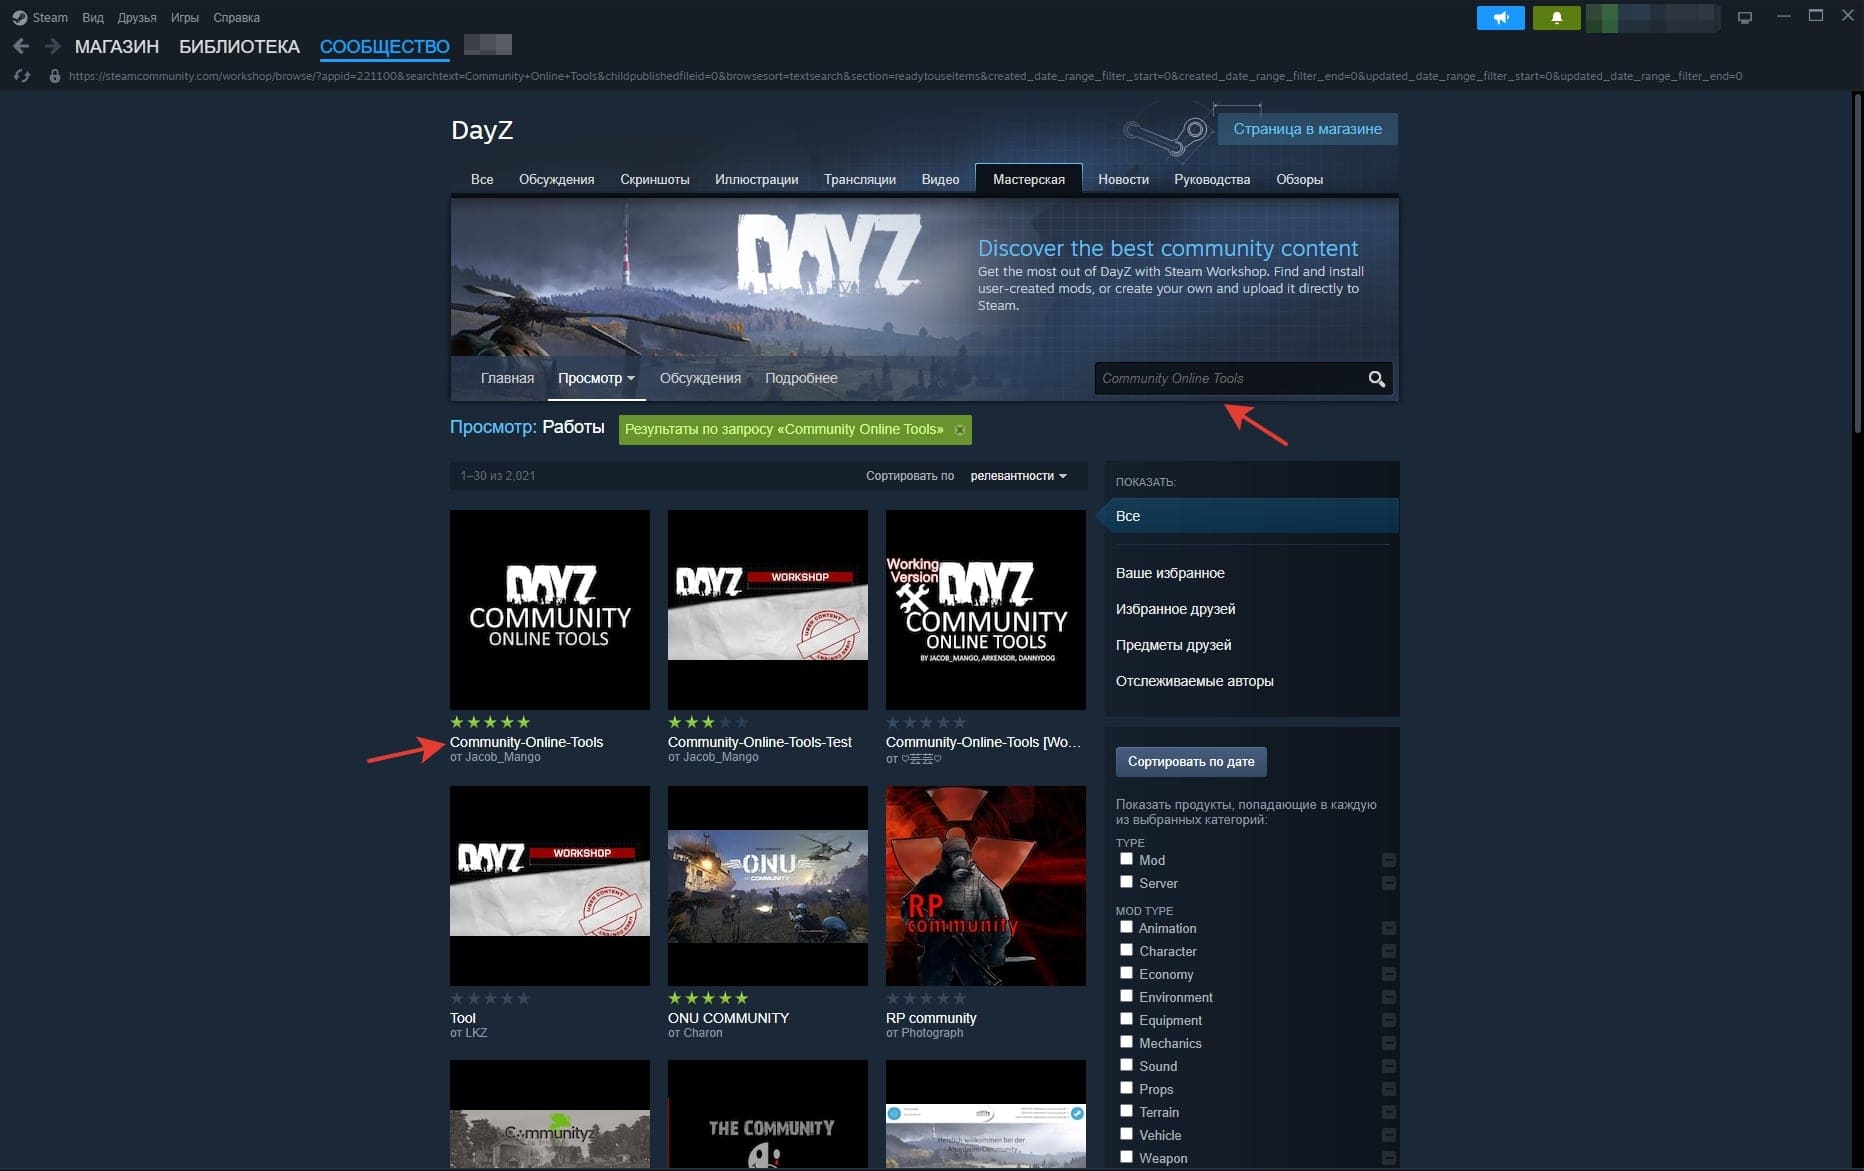
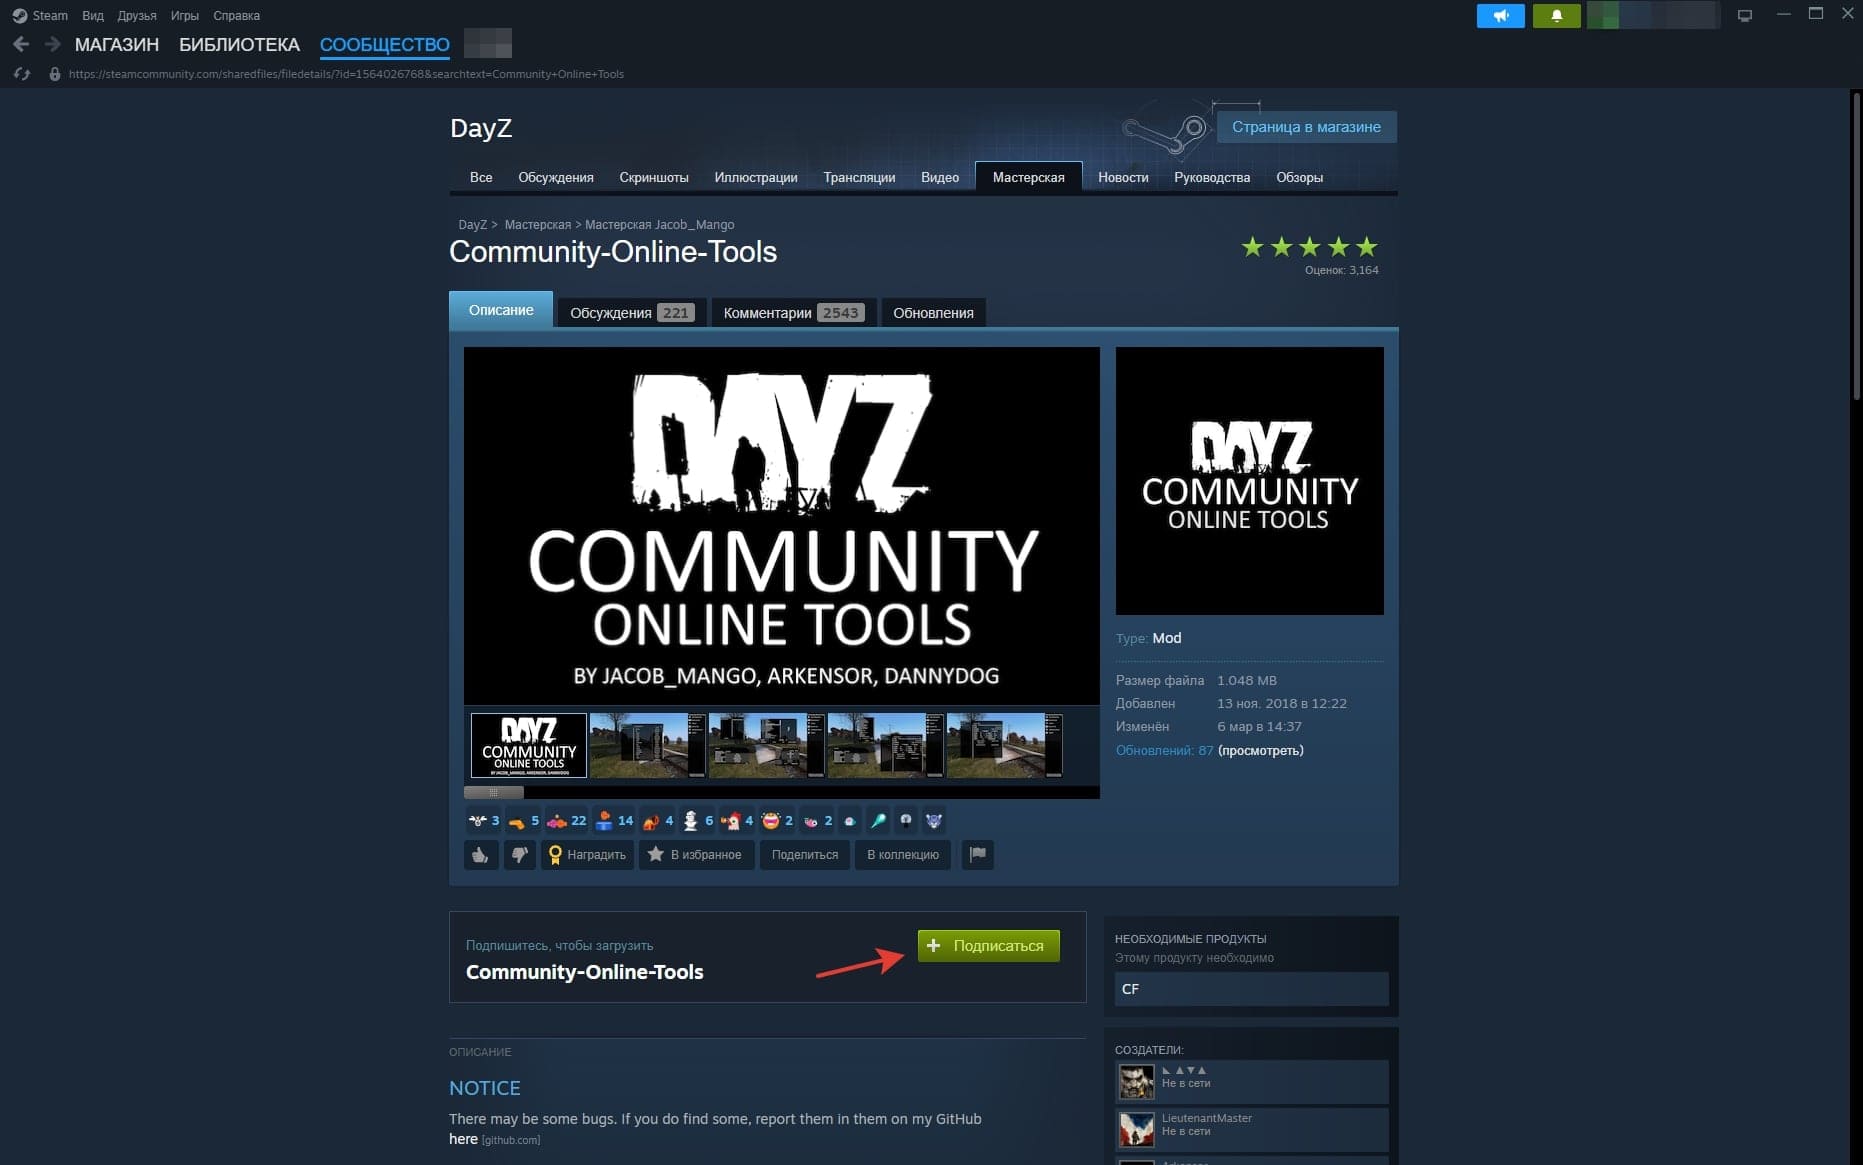
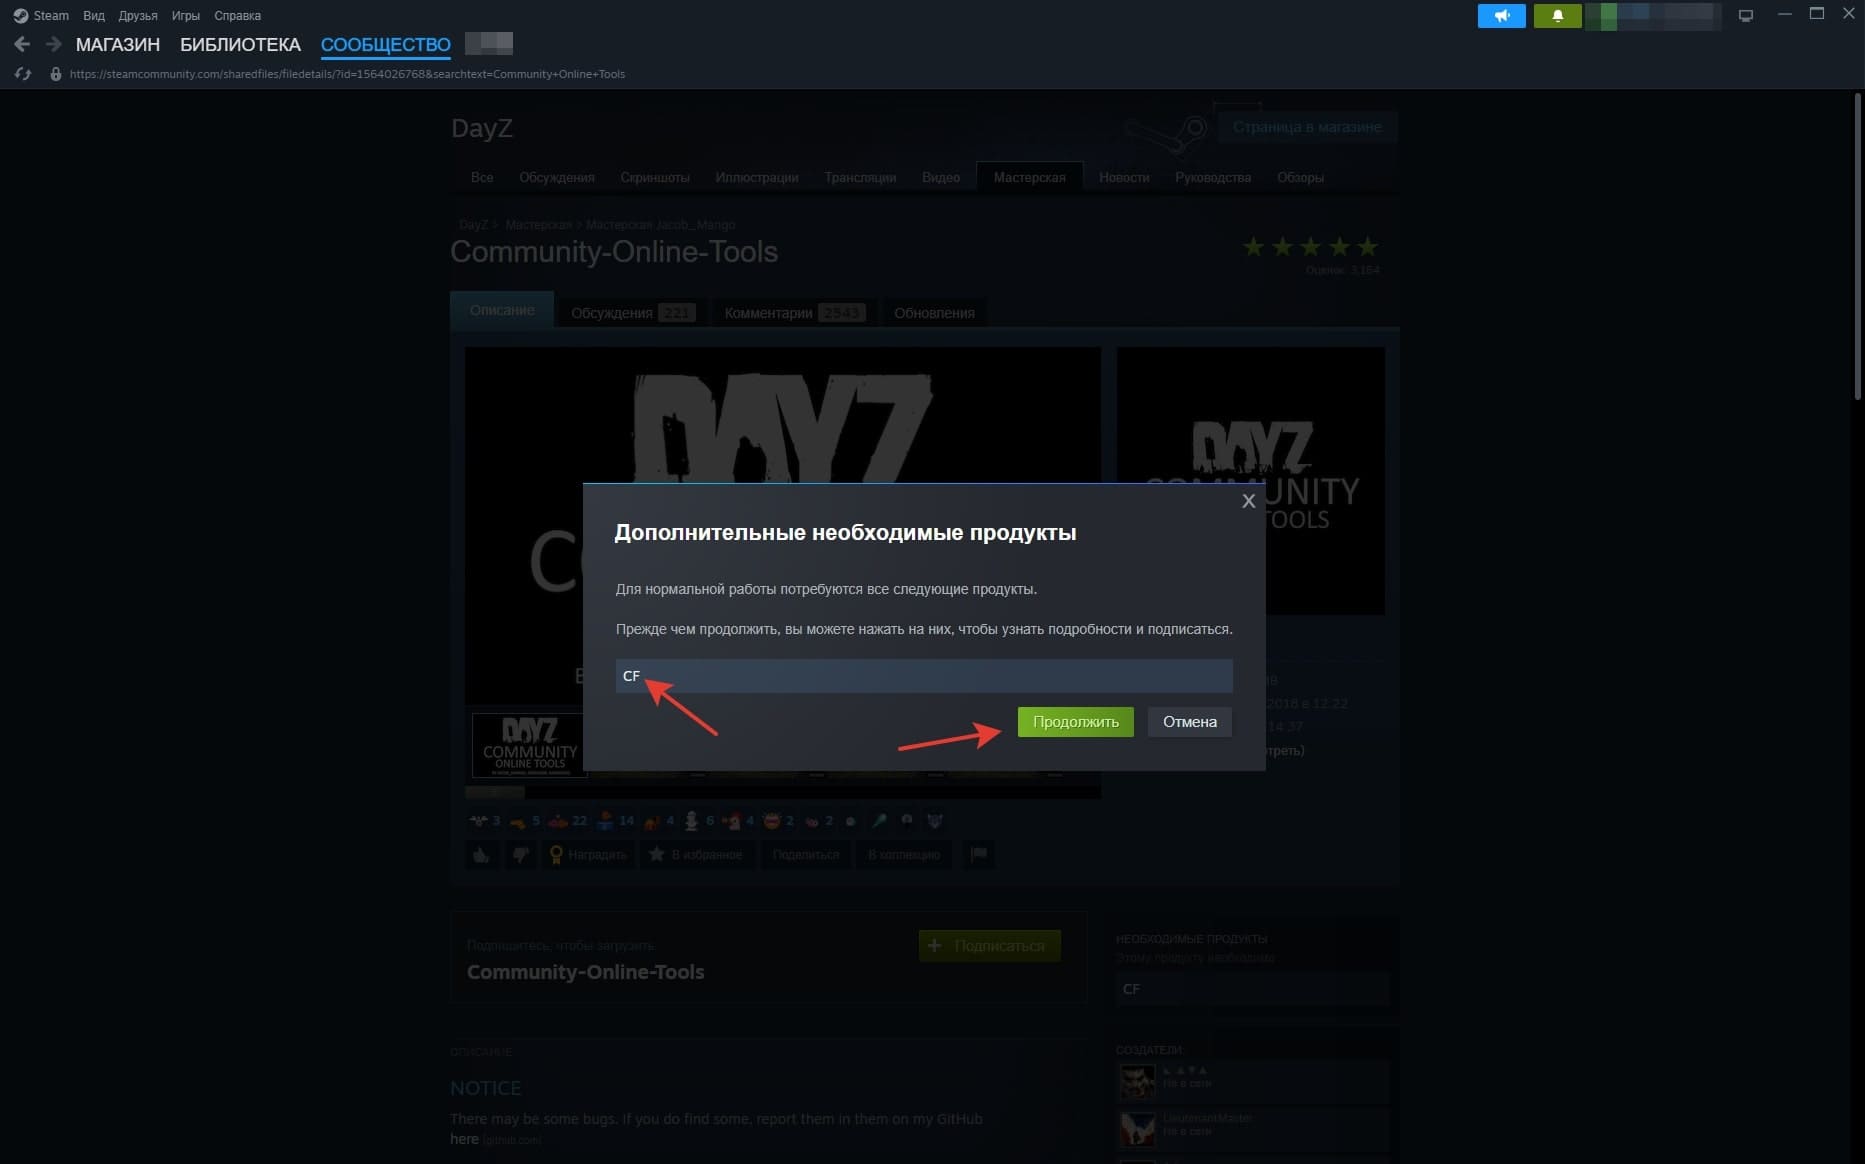
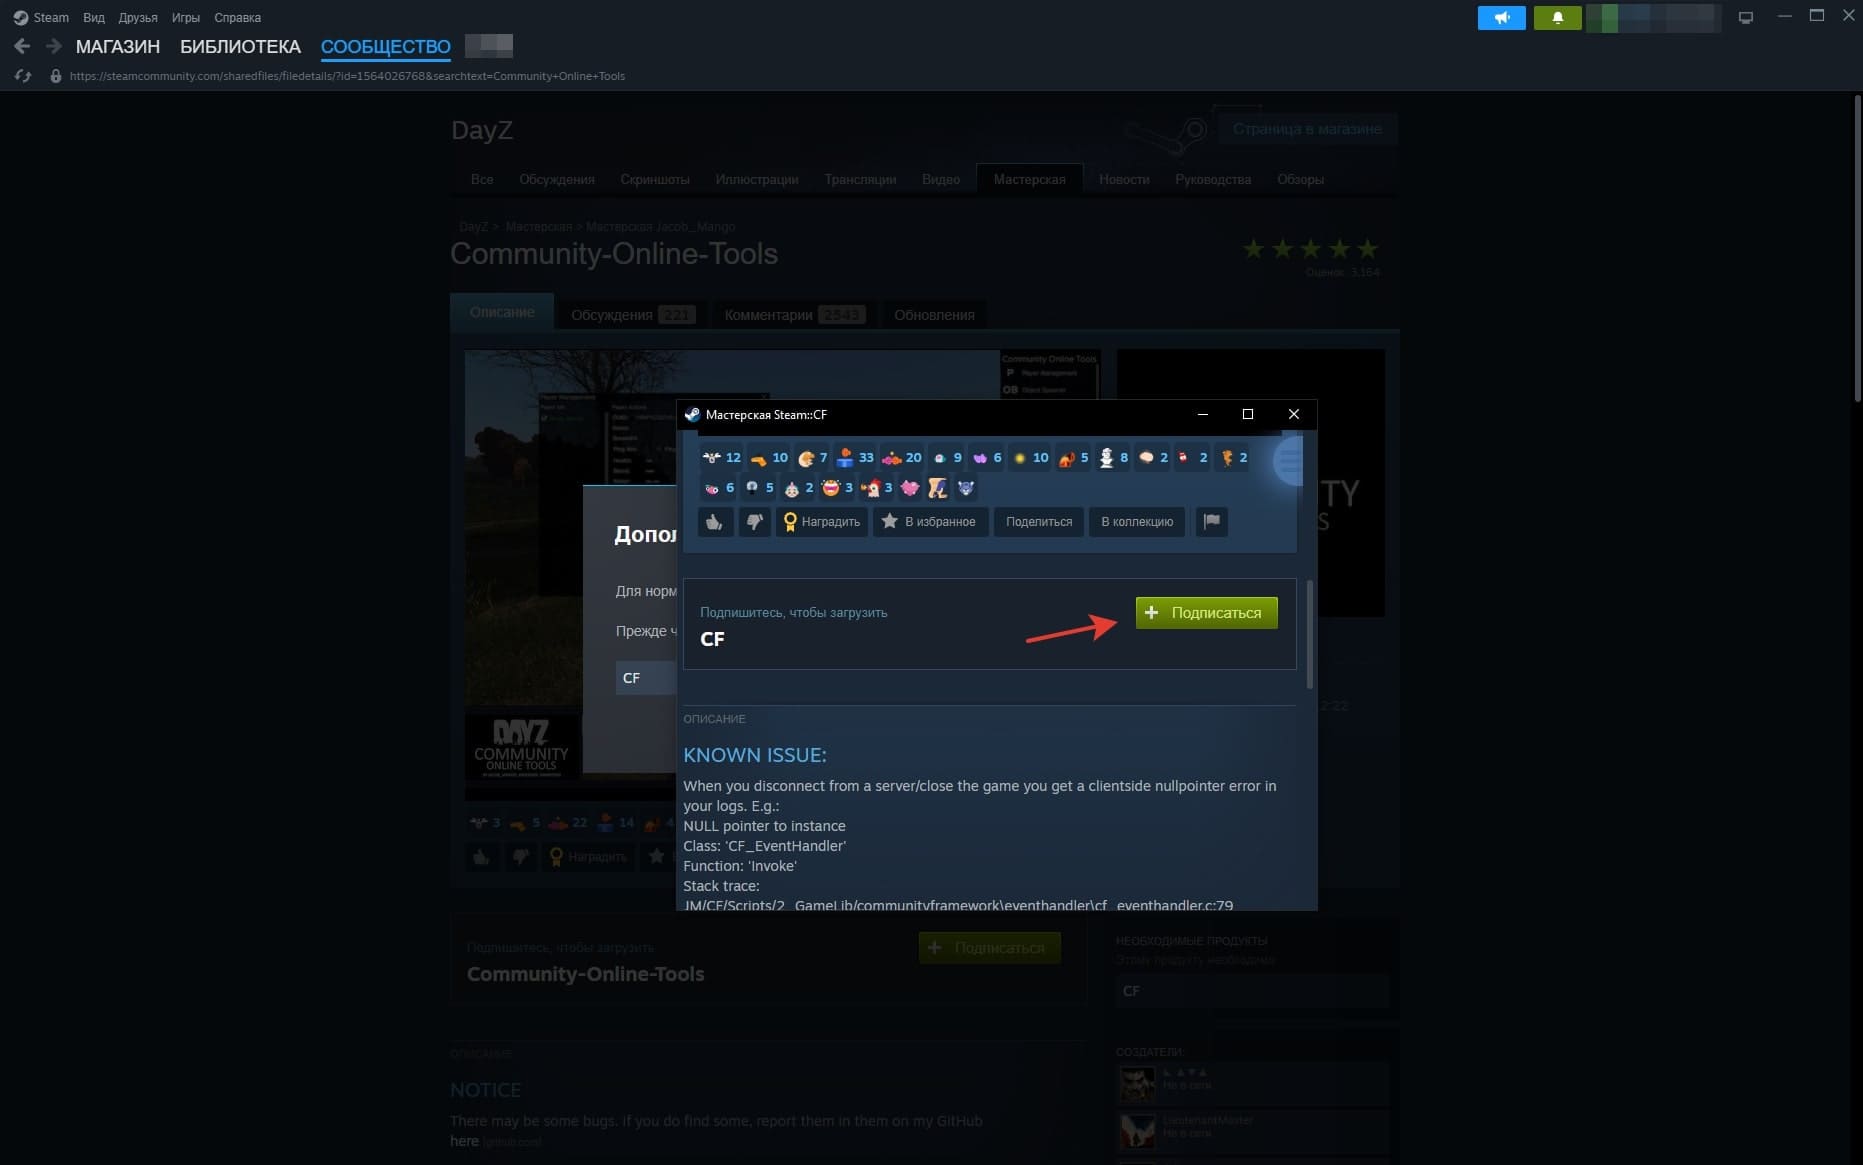
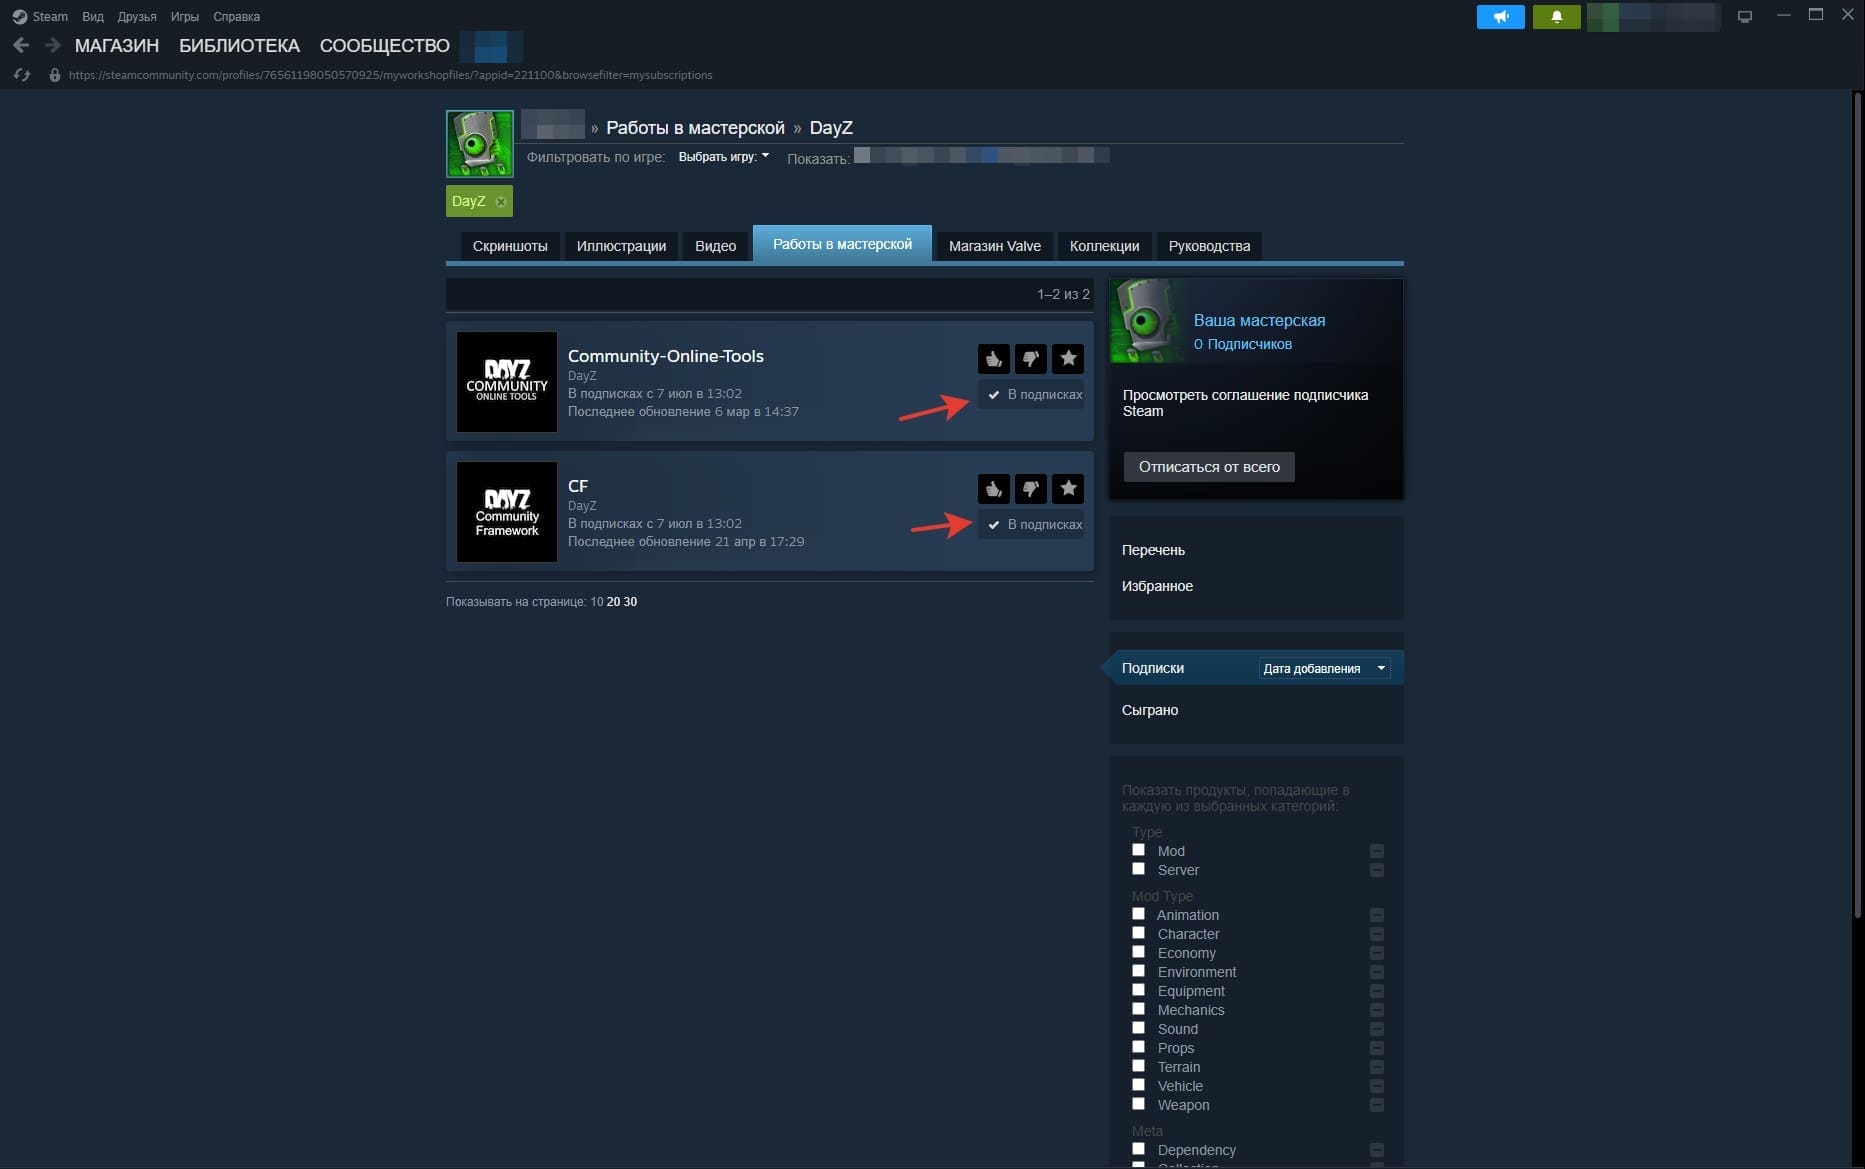
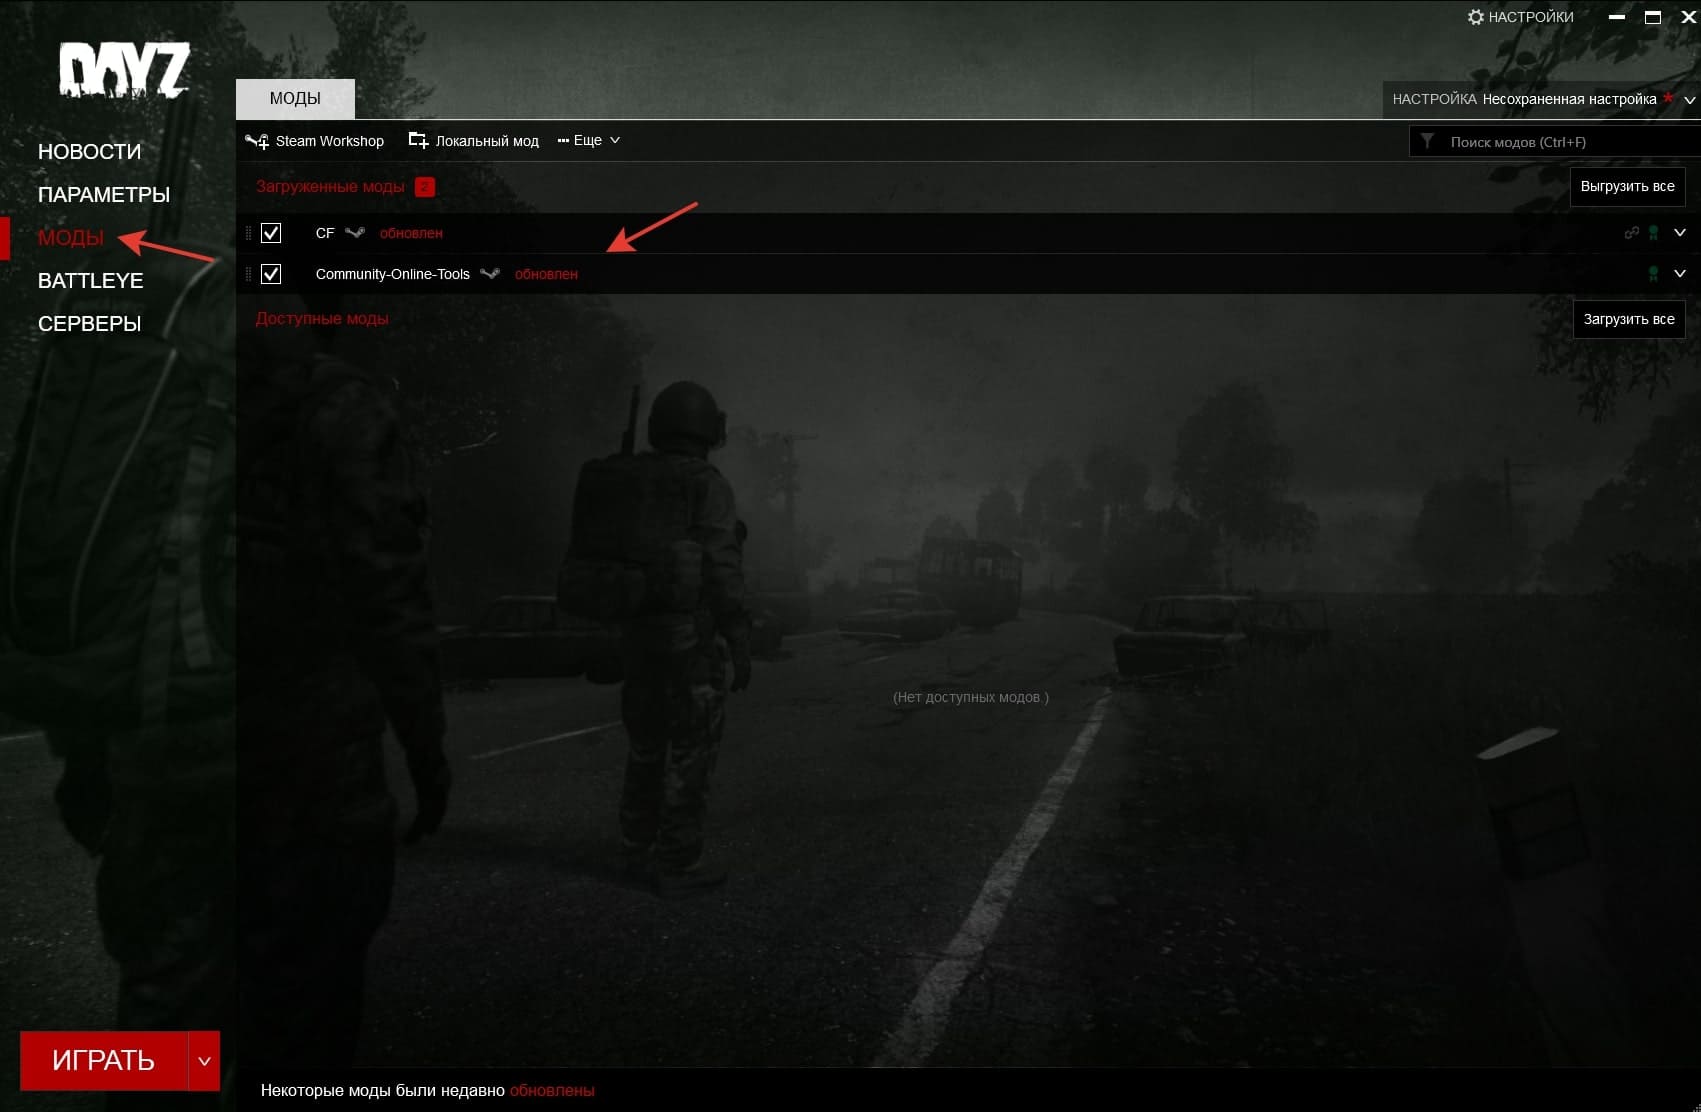
The required mod must be installed both in the game client and on the game server itself. First, install DayZ mods on the game client. To do this, open the window with the game in your Steam account and go to the "Workshop" menu. Then search for "Community Online Tools" mod and add it to your subscription. You will also need to install an additional mod "CF", the system will warn you about it, you will only have to subscribe to the second mod. As a result, you should have two mods in the list of subscriptions, "Community Online Tools" and "CF".

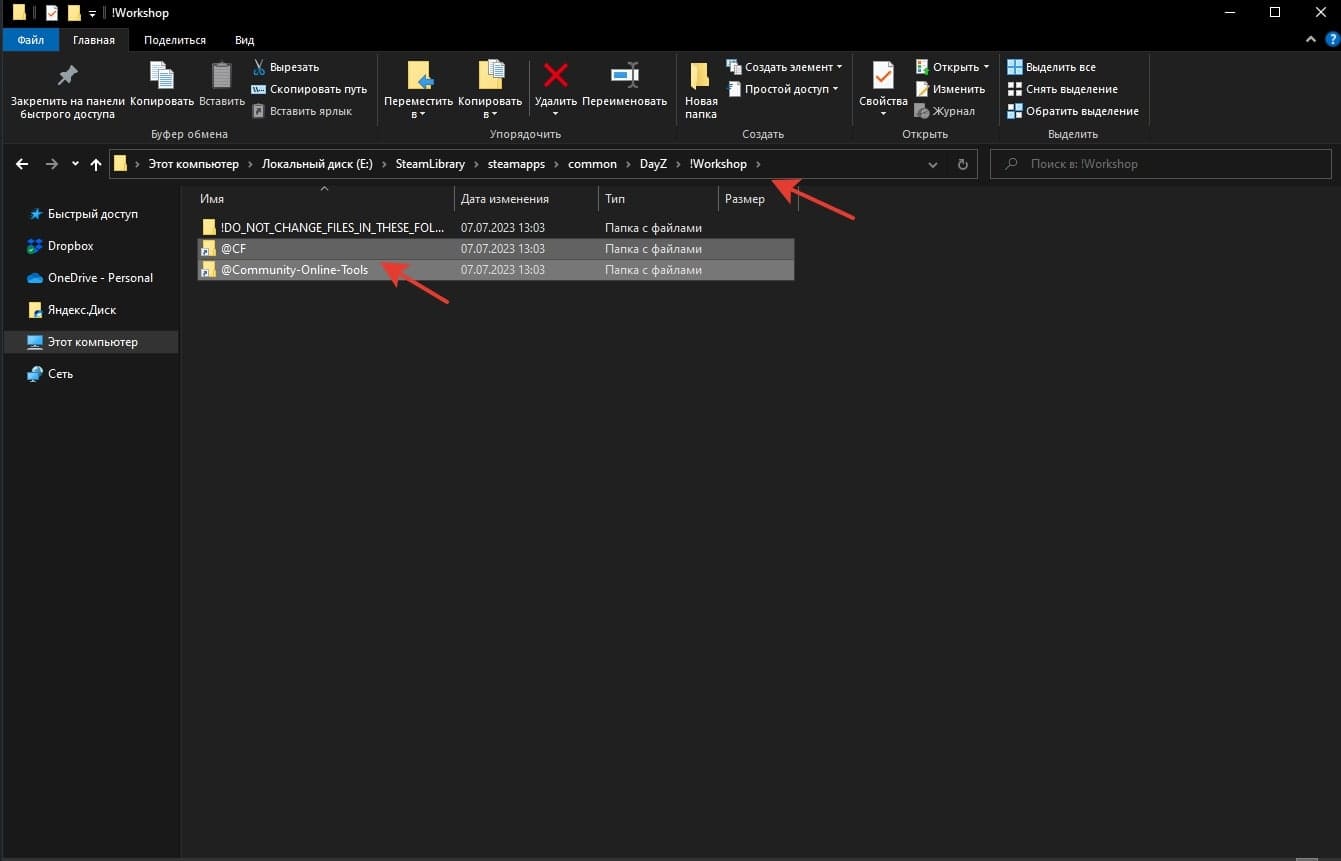
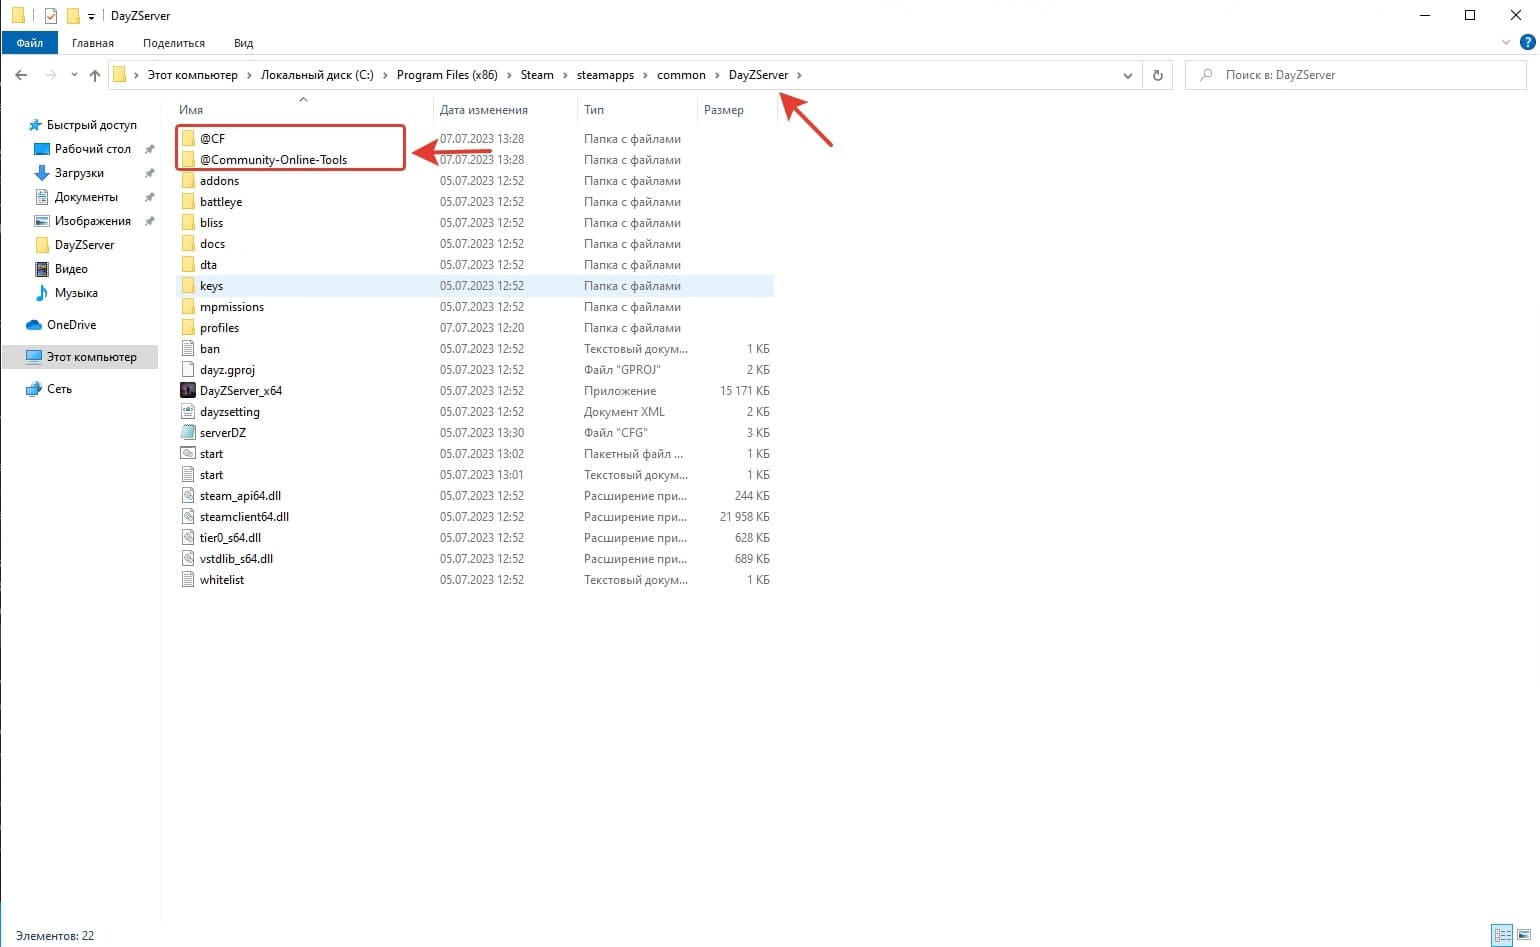
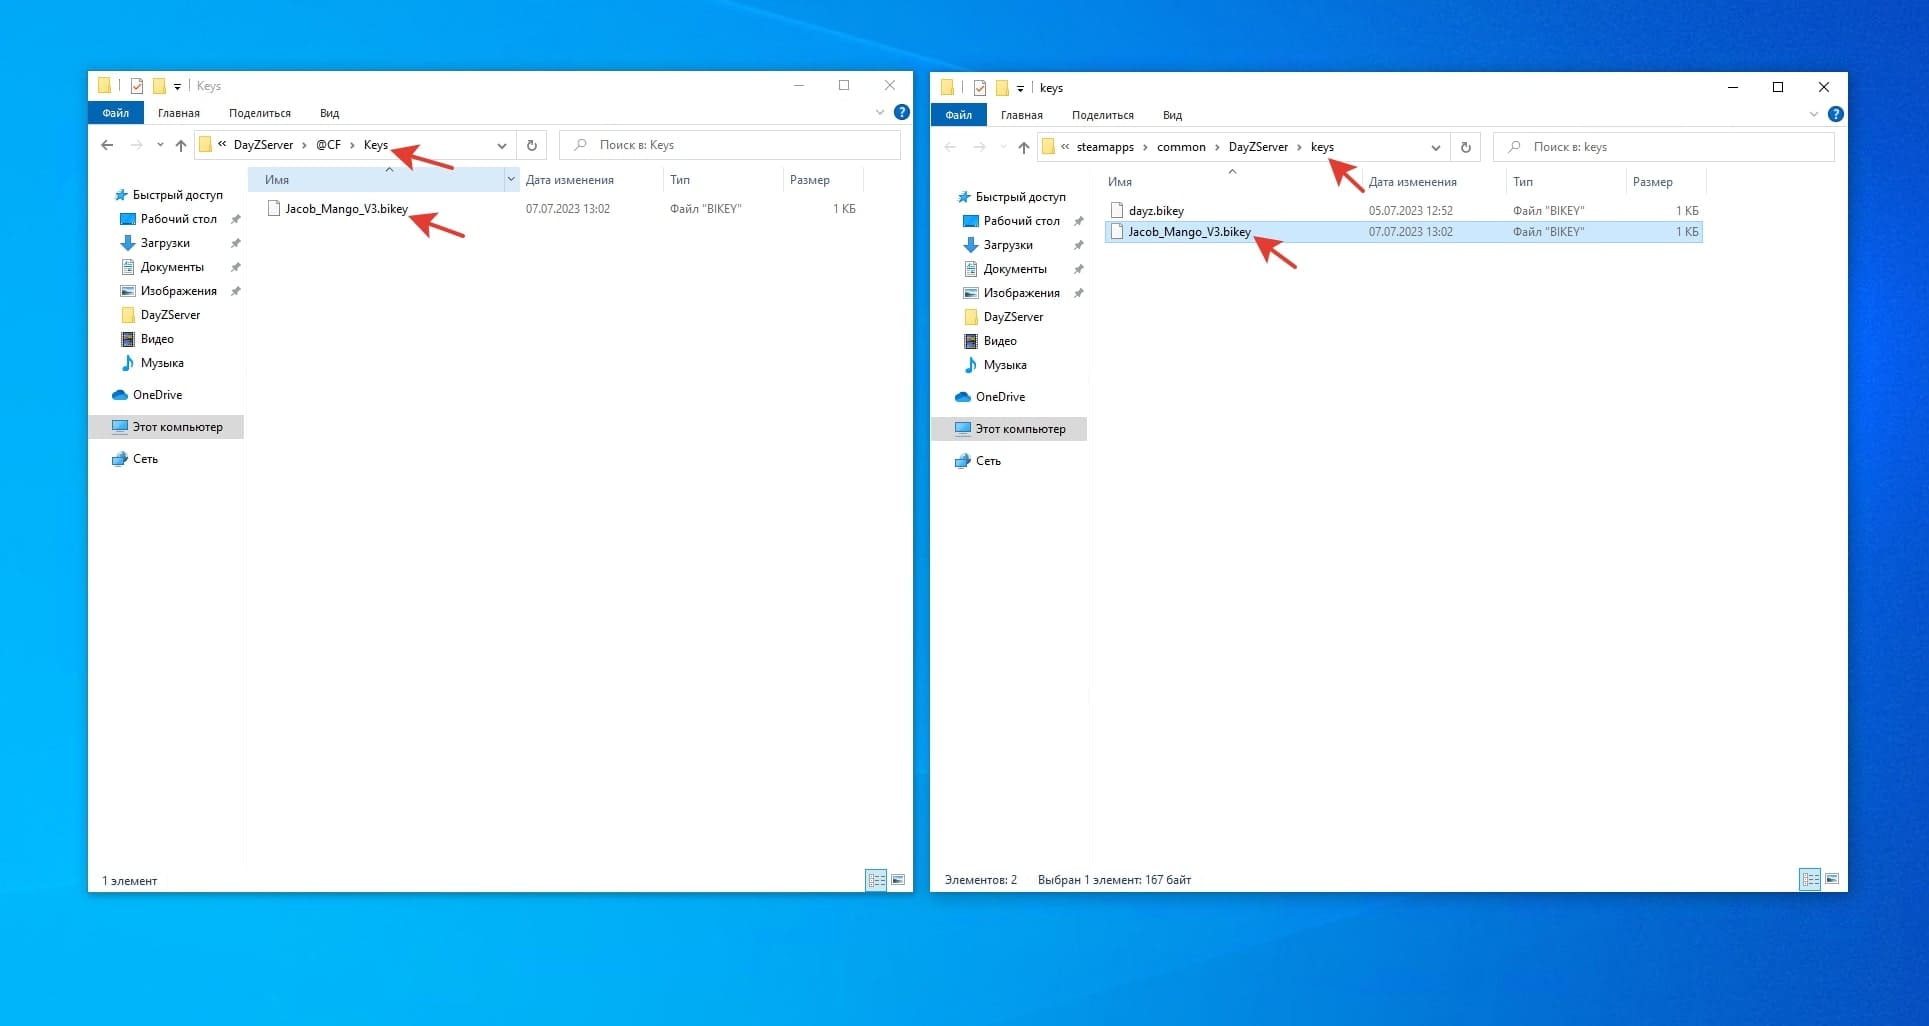
Next, you need to copy the folders with mods to the directory of the DayZ game server. You also need to copy the mod key, which is located in the "Keys" folder in the mod directory, it needs to be placed in the "Keys" folder in the server root directory. After that, you need to add a list of installed mods in the start.bat file, in the server startup parameters after the "port" value, in this form (opening/closing " also needs to be written): "-mod=@CF;@Community-Online-Tools;".
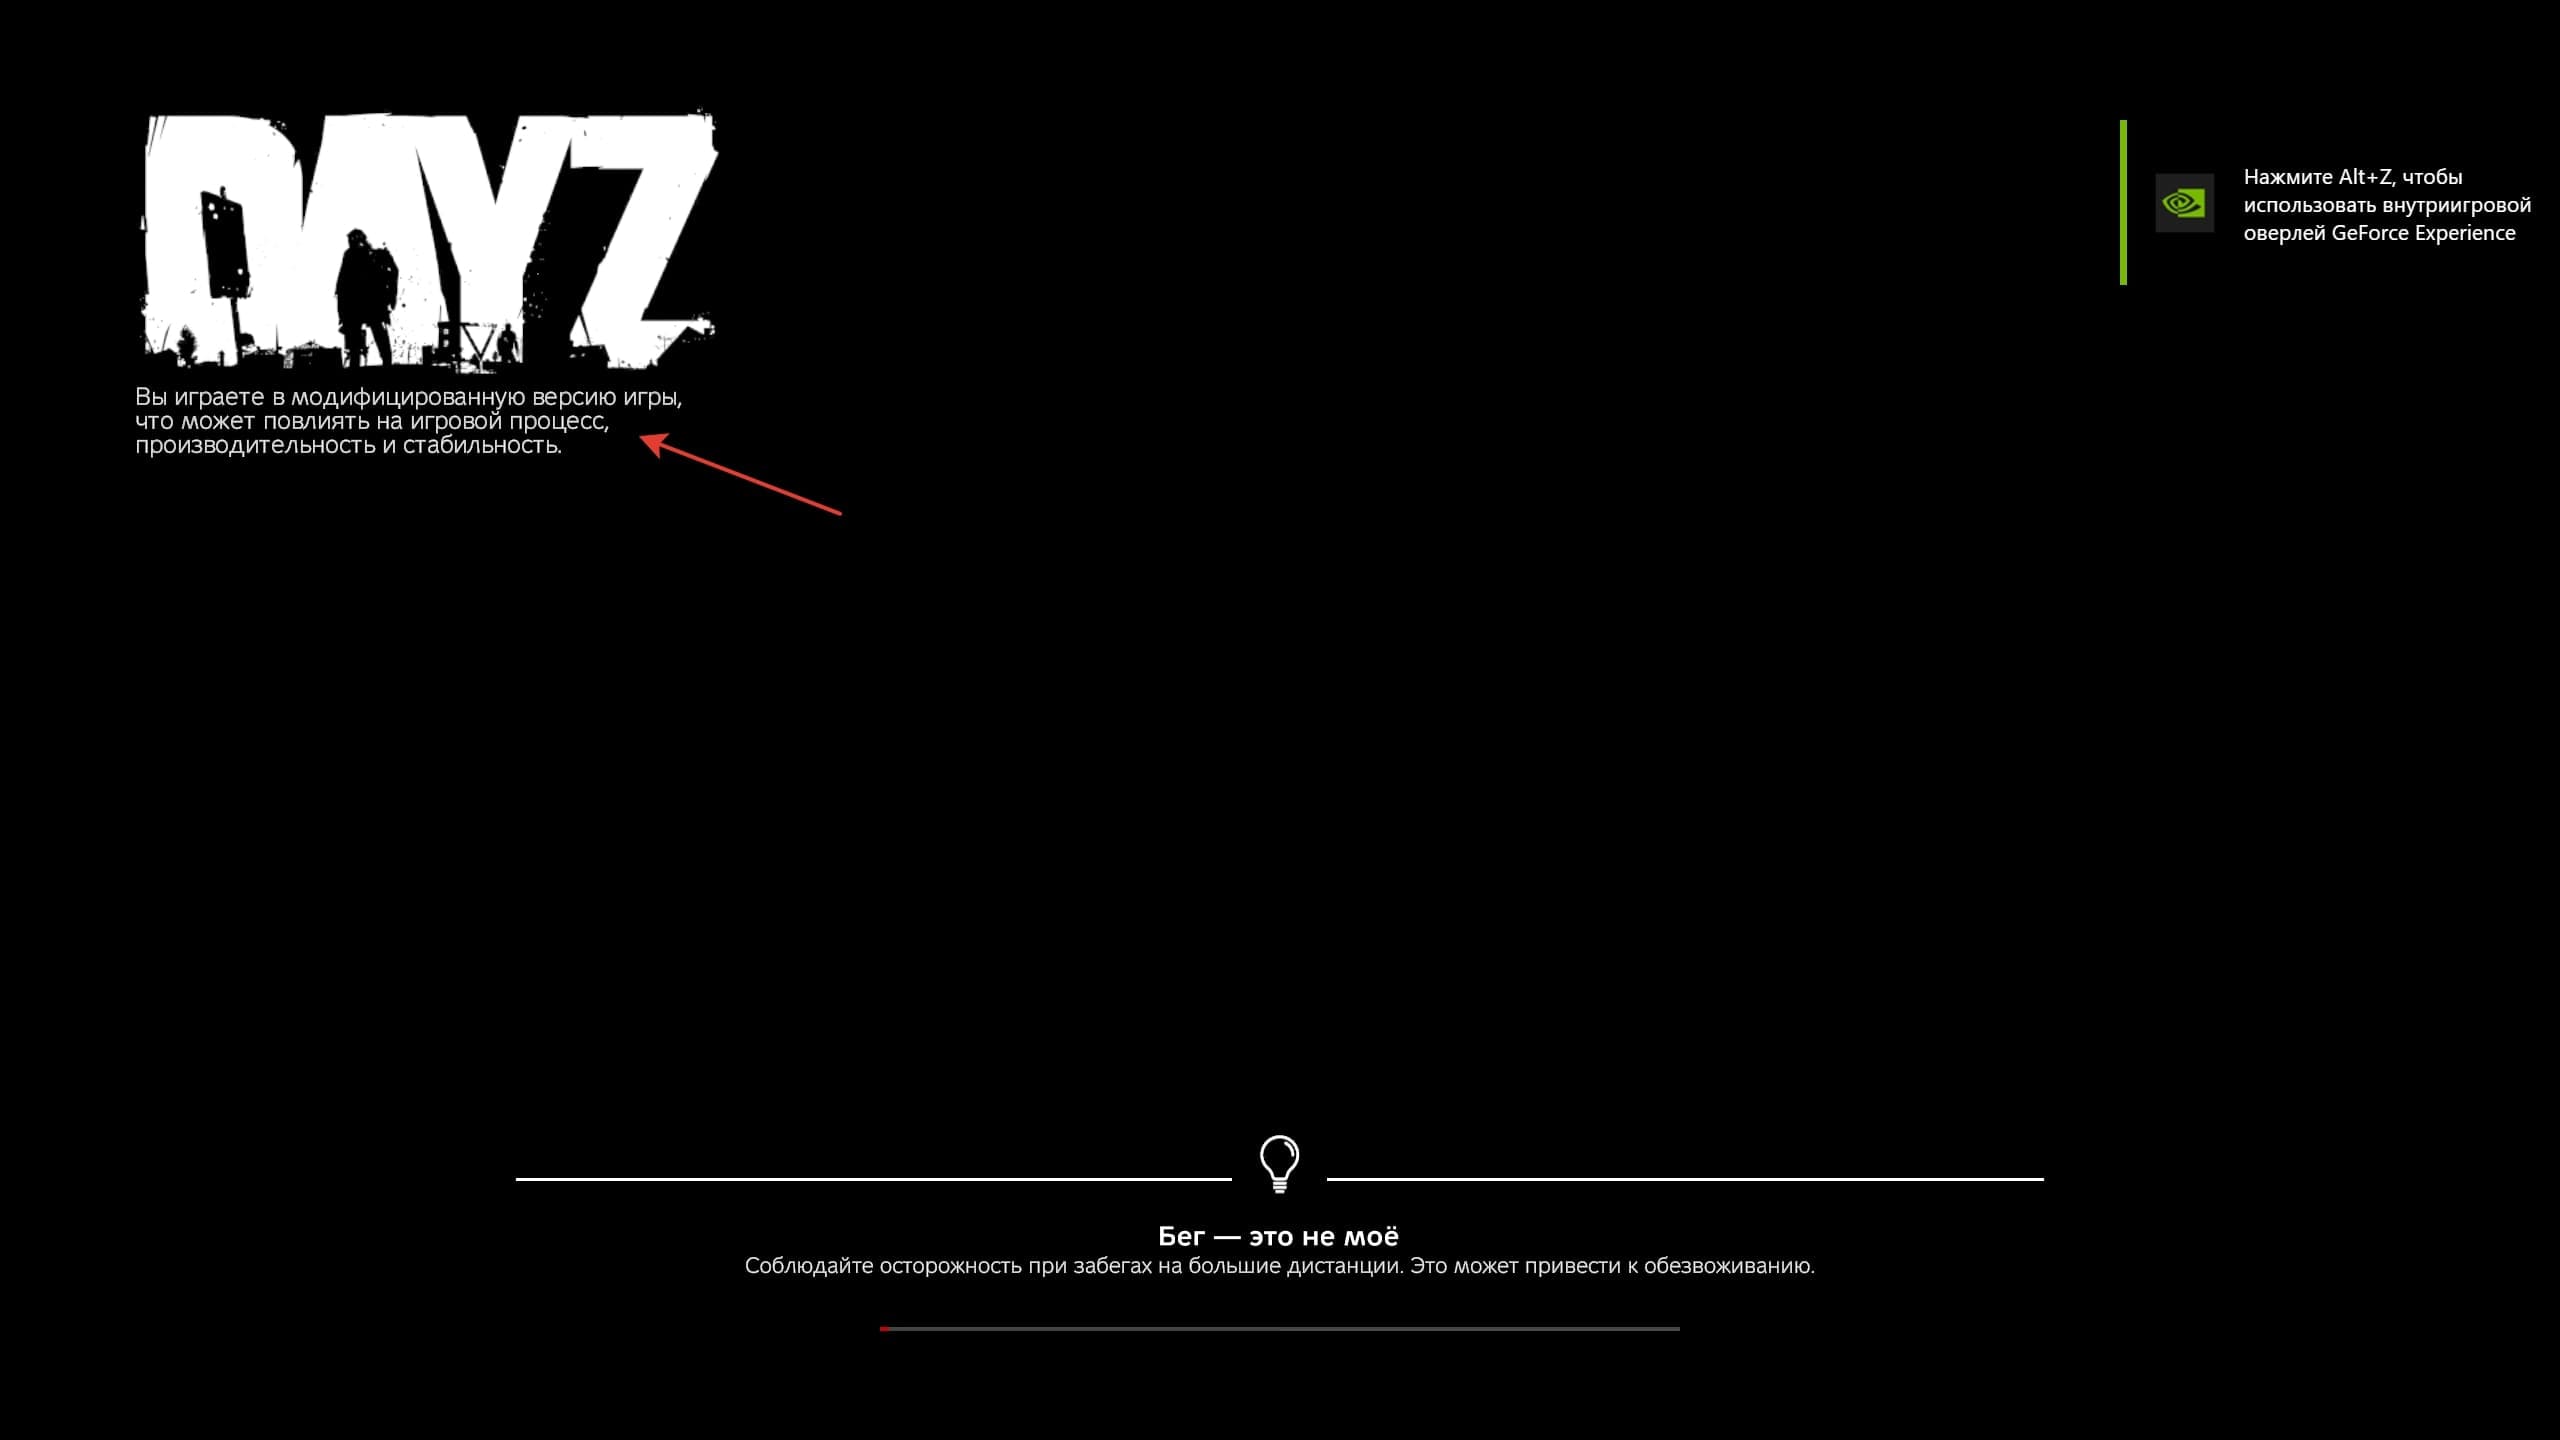
It remains to add our game profile as a server administrator. To do this, you need to connect to the server. Make sure that mods are active in the server connection interface and when loading the game itself.
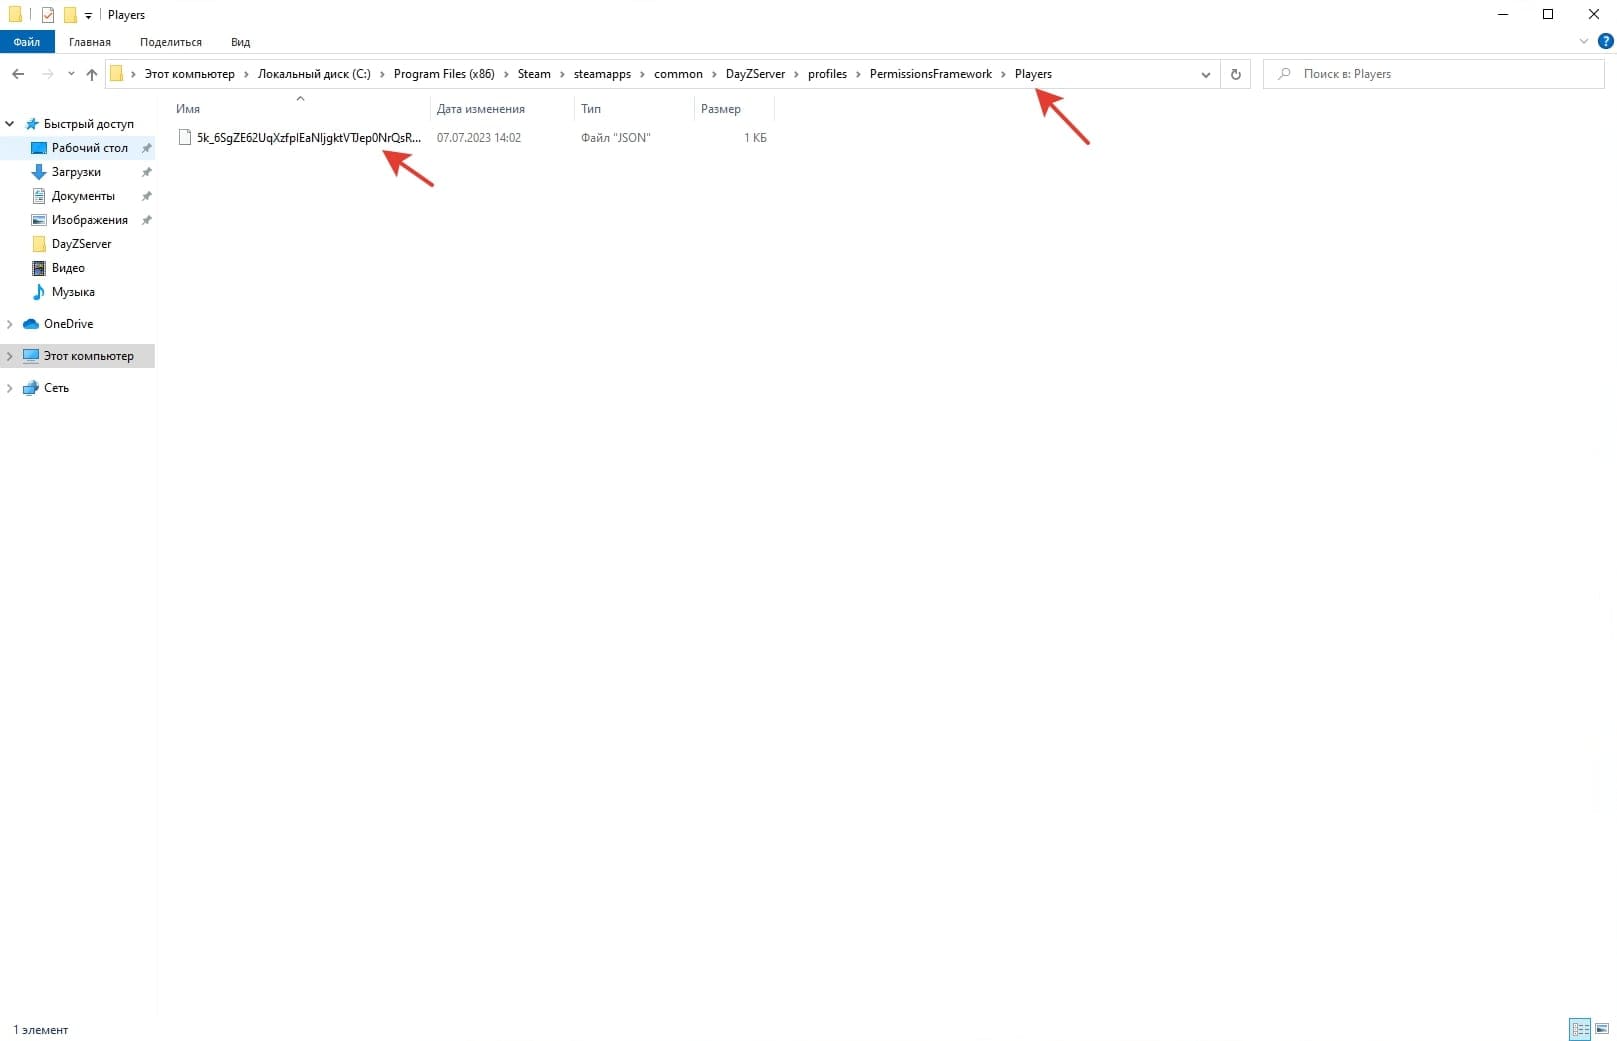
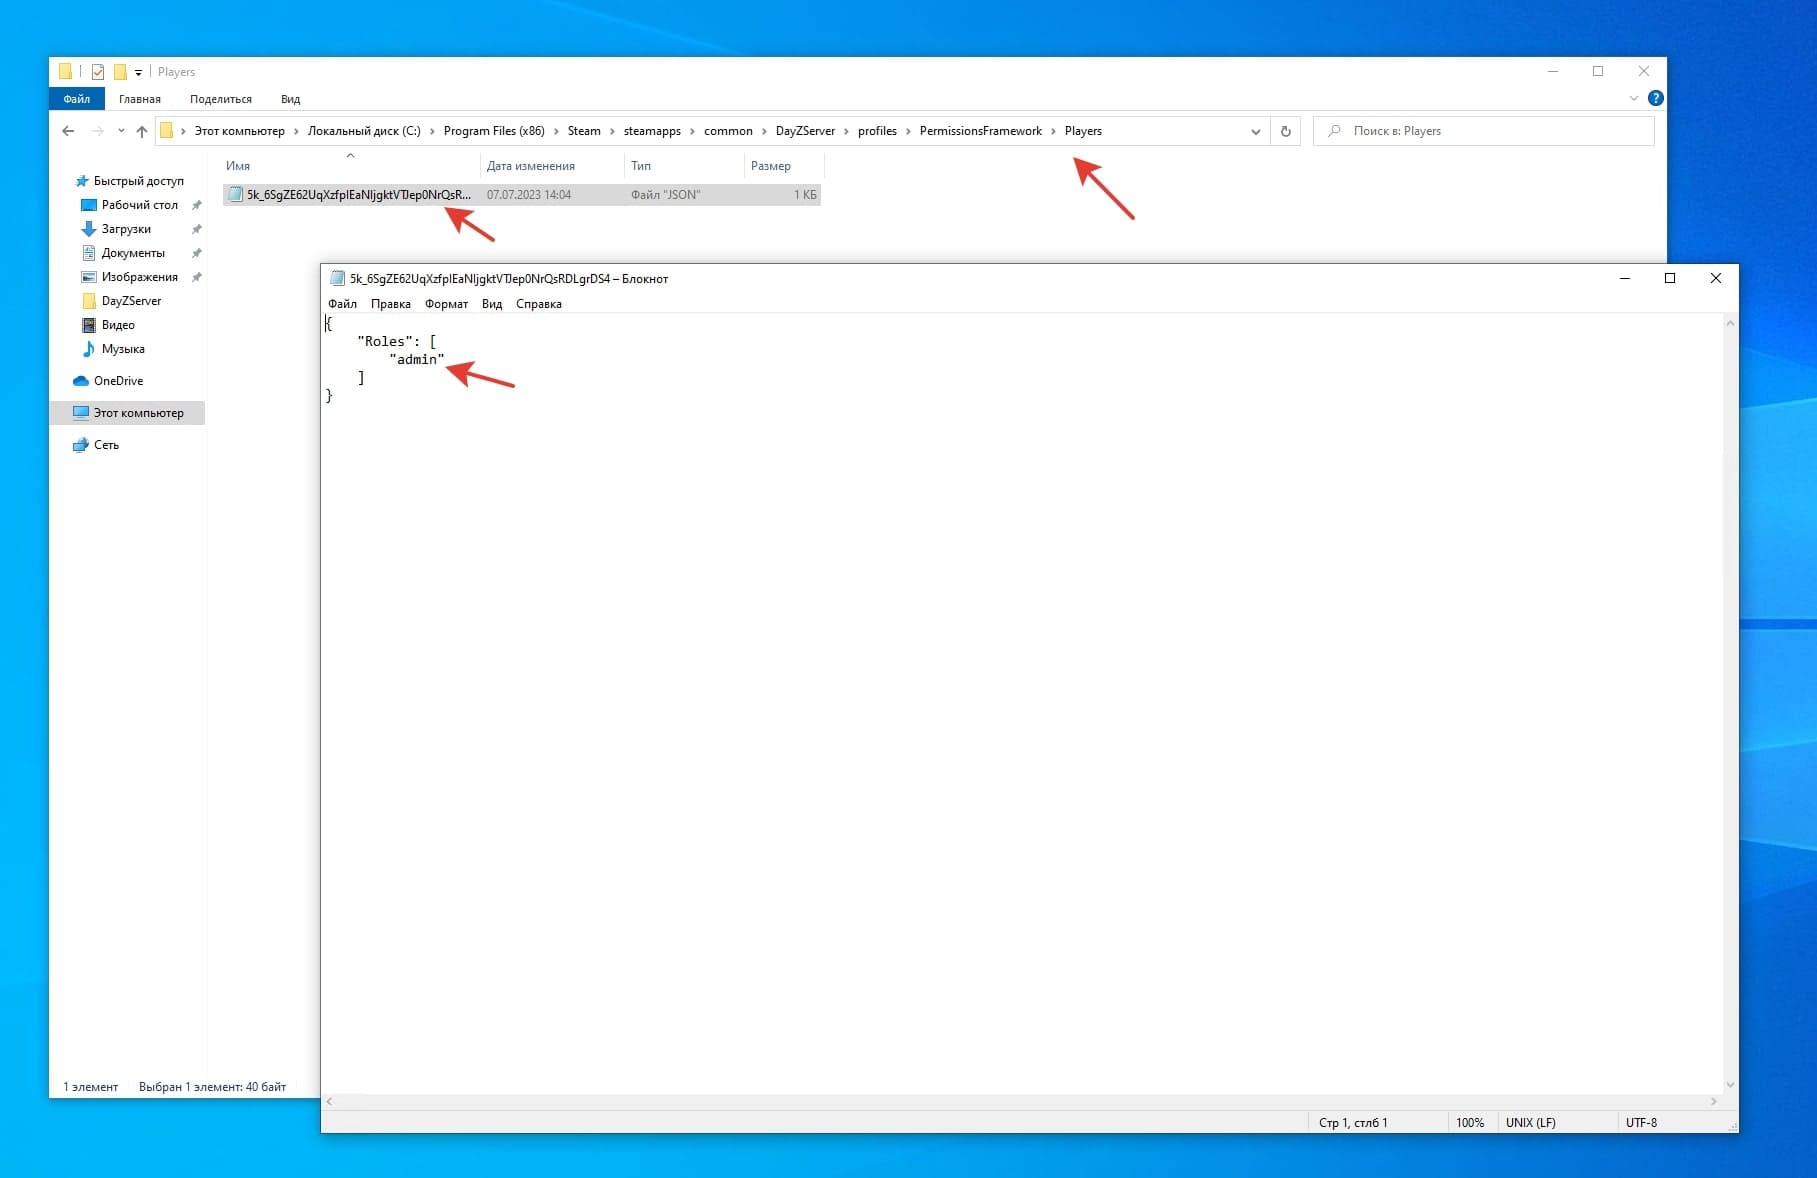
You can disconnect from the server. After a successful connection, your profile file will be created in the profiles\PermissionsFramework\Players directory of the server. You need to open it and change the value of "everyone" to "admin". Restart the game server and reconnect.
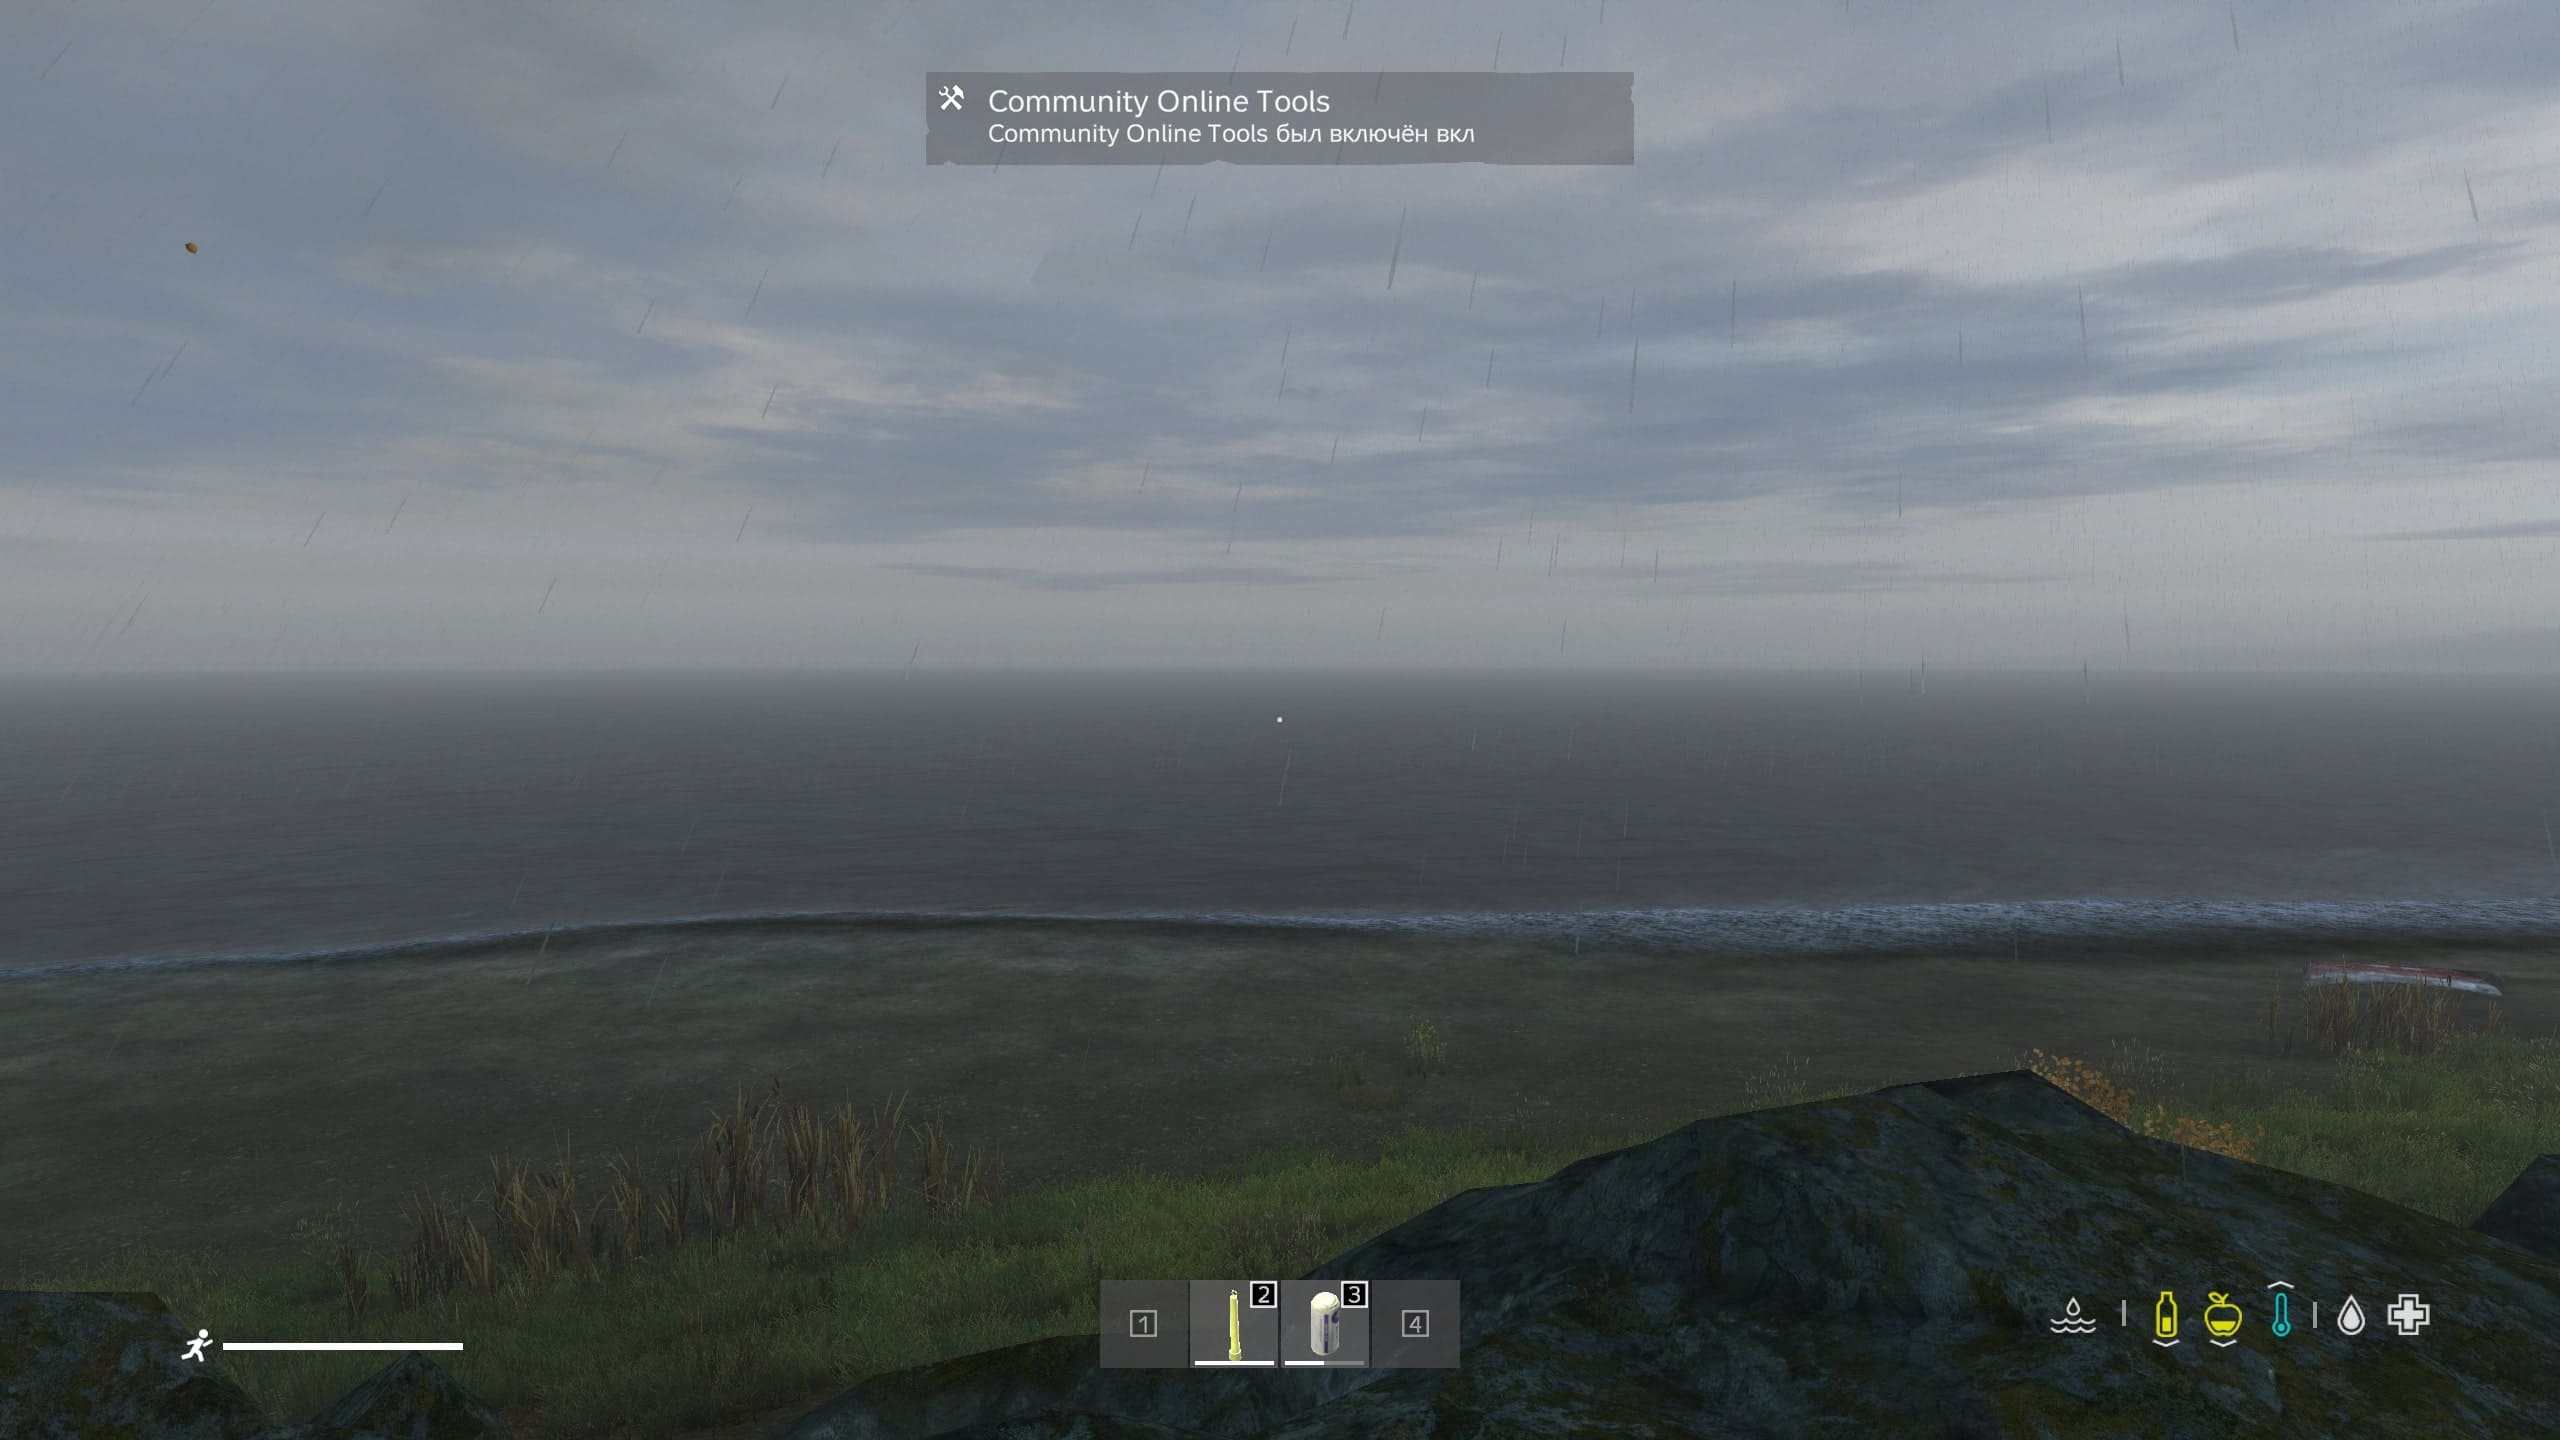
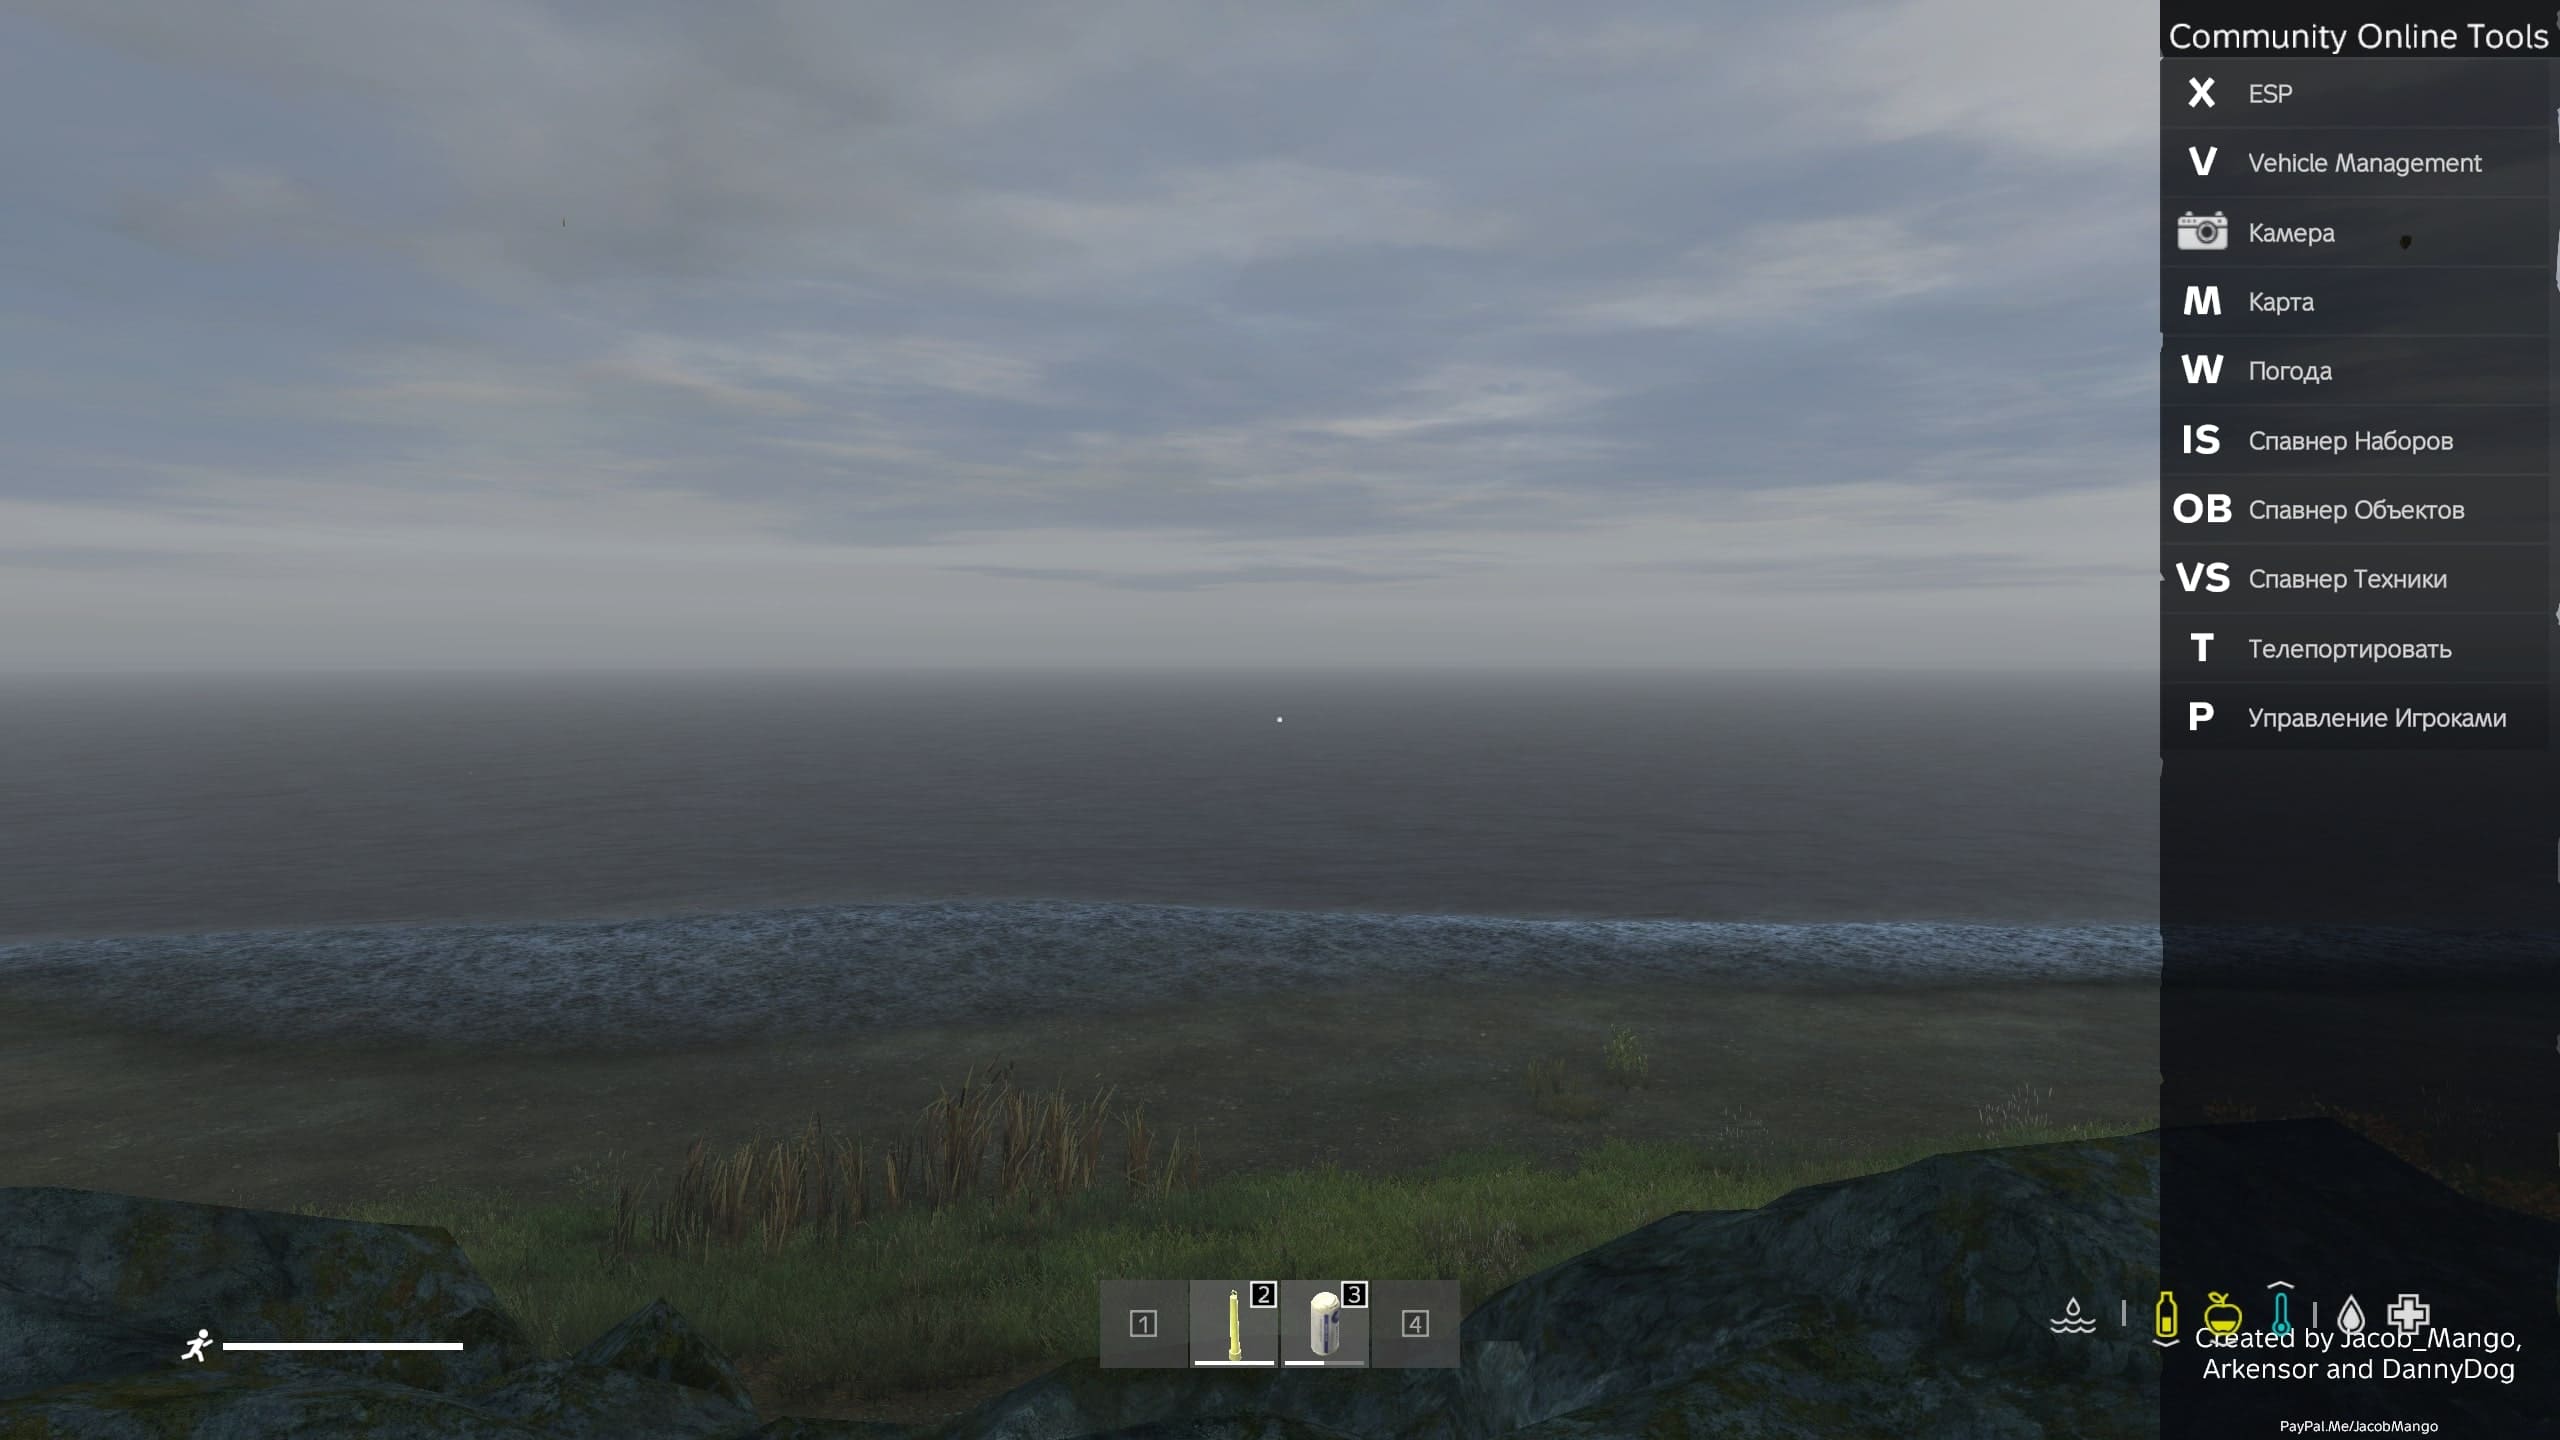
After loading the game world, the admin area is activated by the "End" button, a notification will appear on the screen about the inclusion of the mod. You can launch the admin panel by pressing the "Y" button, after which a menu with available functions for the game server admin will open.
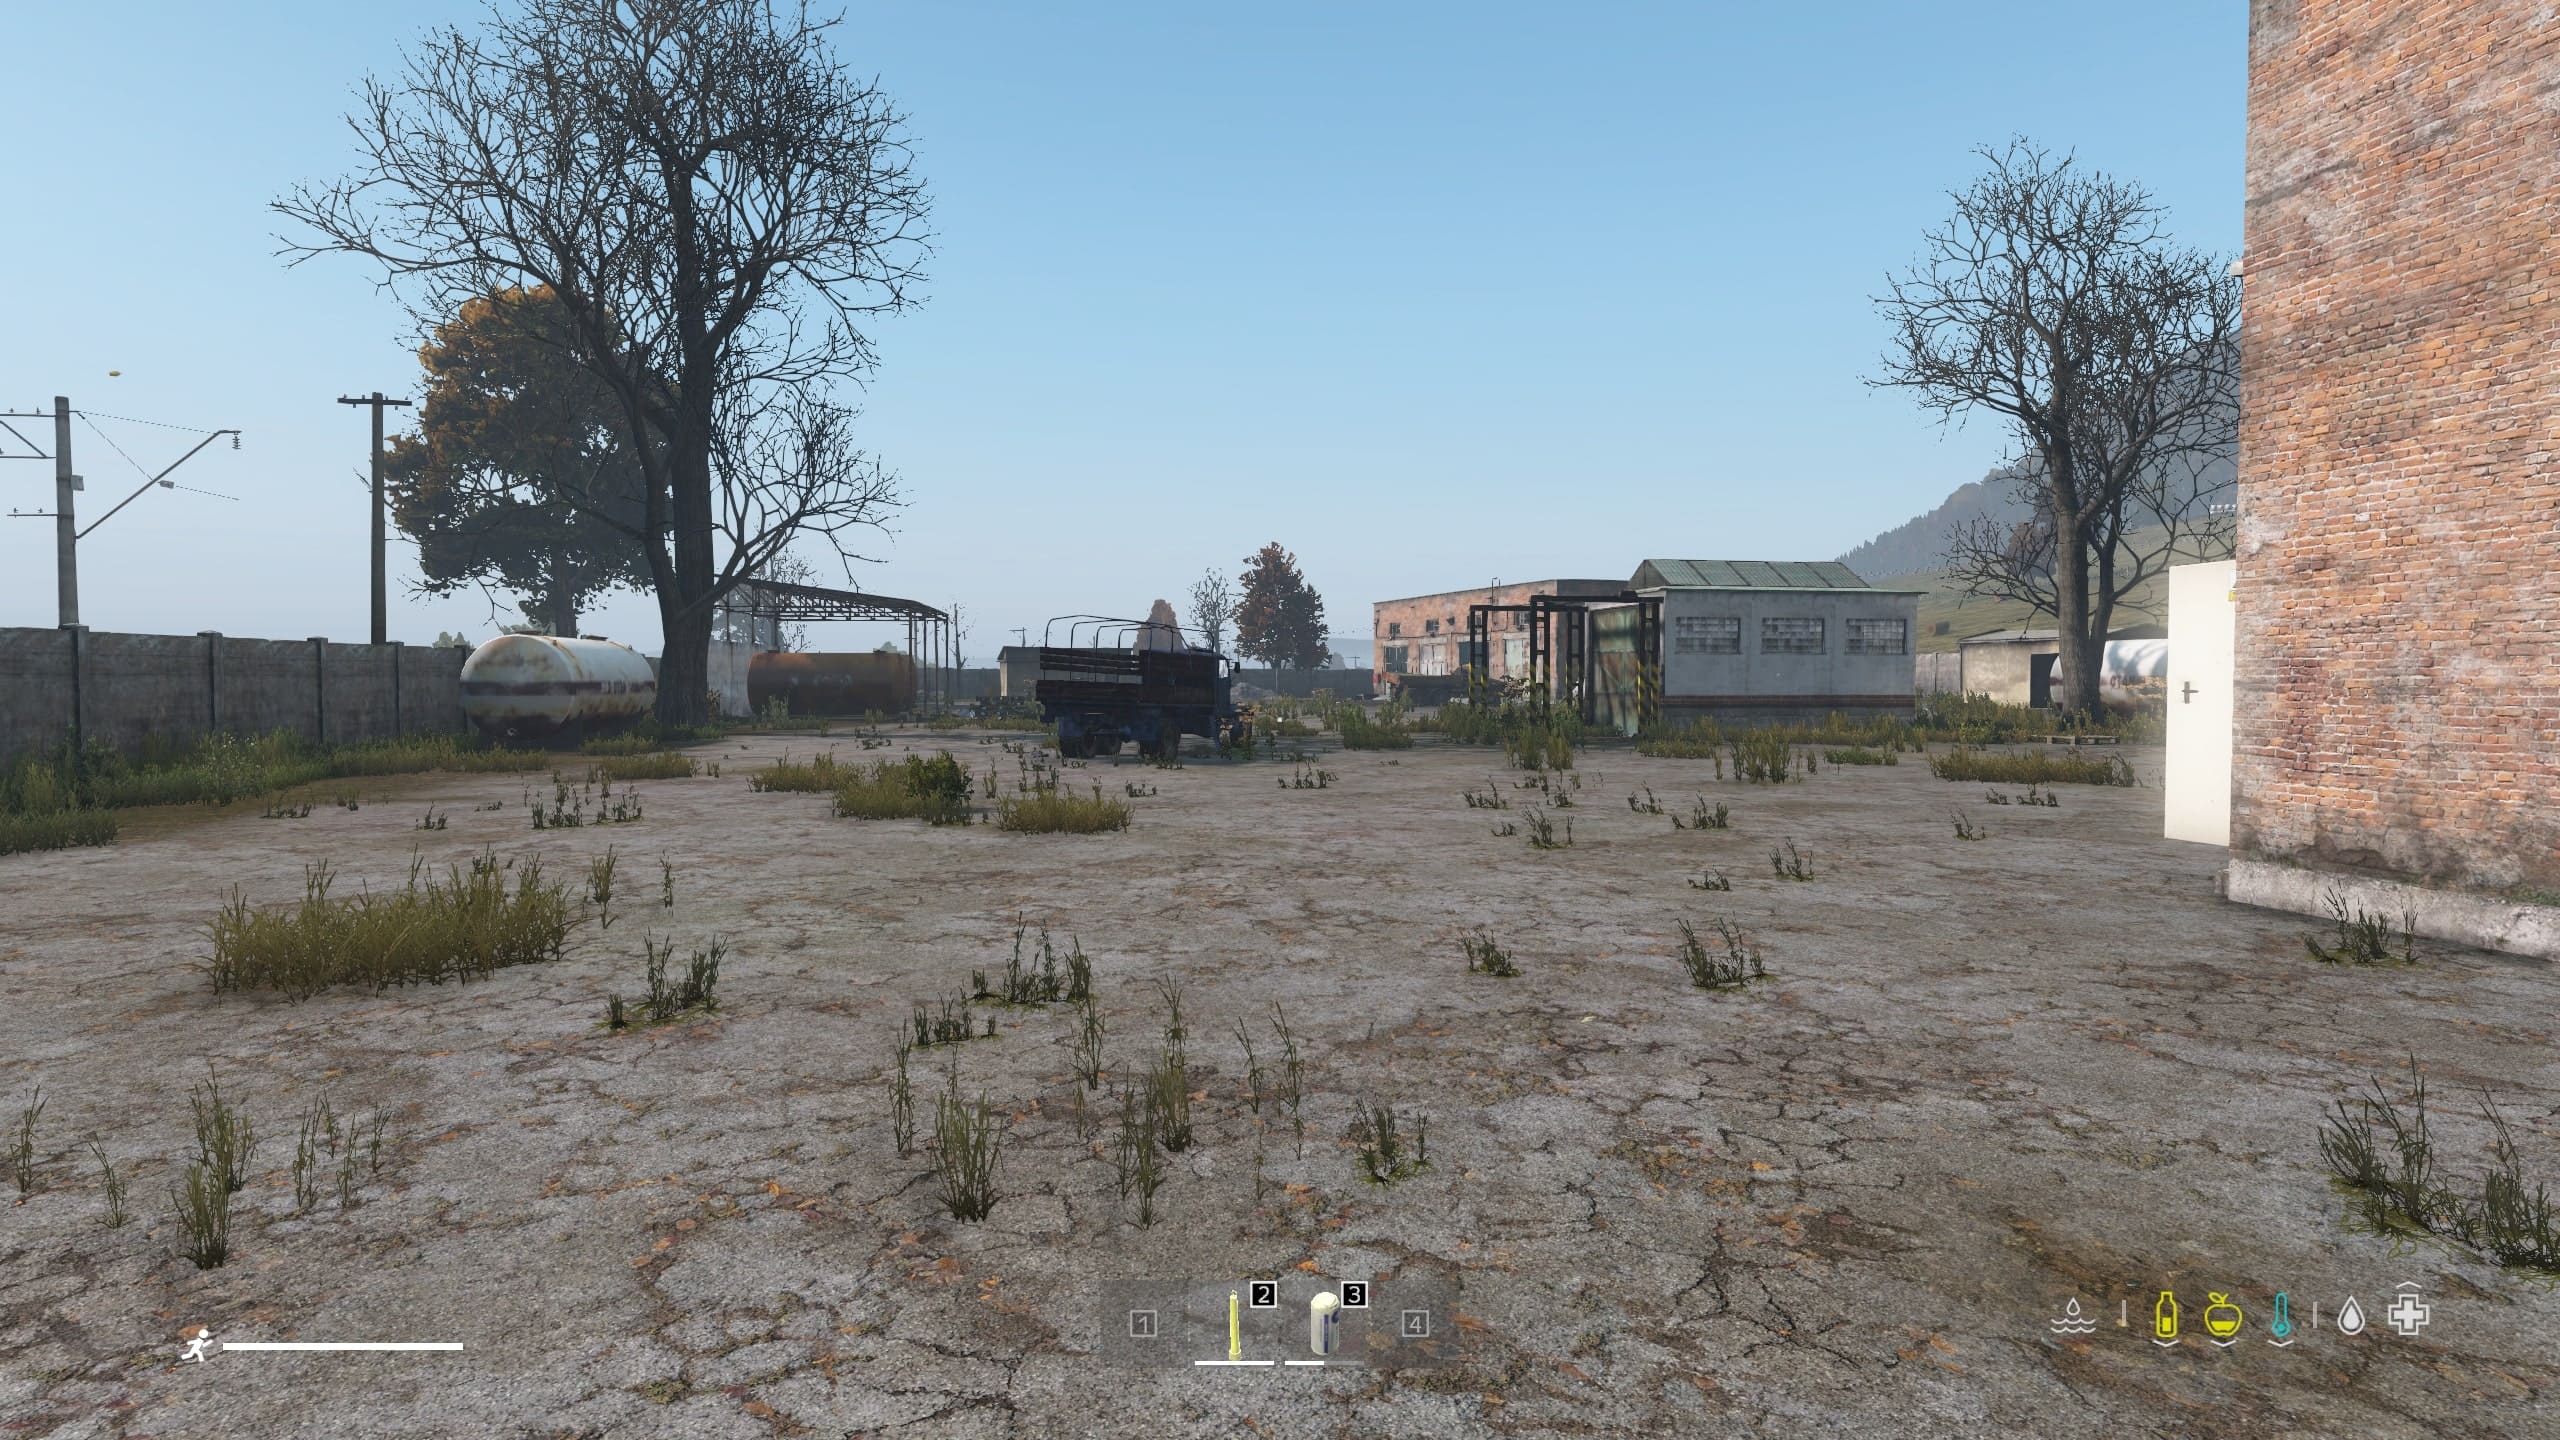
This completes the installation and basic server setup, you can play on your own DayZ online server.