Creating a game server Soulmask
- In this guide we will tell you how to install and run the Soulmask server yourself using Ubuntu 22.04 as an example
- Before installation, you must select and order a virtual server tariff plan
- After ordering and activating the server, you can begin creating a Soulmask server
- If you need help with installation, you can create a request to technical support and we will install the Soulmask game server for free on your vds
Installing a Soulmask game server
After ordering and activating the server, a letter with information about the order will be sent to your email, which will contain information for connecting to the server via SSH. To start the installation, you need to connect to the server via SSH, because... Most actions are performed in console mode. Please note that the installation process assumes that you have at least a minimal understanding of how Linux systems work. The following will be a list of commands and necessary actions to install the Soulmask game server.
-
Update your operating system
- apt update
- apt upgrade Set UTF-8 encodings in the operating system
- apt install locales Install the encoding package
- dpkg-reconfigure locales The required encoding is number 146, scroll through the list with the enter key, then indicate the encoding number and confirm with the number 3 Encoding check
- localectl status Installing additional libraries when using a 64-bit operating system
- apt install lib32gcc1
- apt install lib32stdc++6
- apt install libsdl2-2.0-0
- dpkg --add-architecture i386
- apt-get update
Before continuing with the installation process, reboot the server.
-
Installing the Nano text editor
- apt install nano Installing Screen (Screen creates separate objects, sometimes called “screens”. Each screen is something like a window that can be minimized or expanded, if we draw an analogy with a graphical interface. Only instead of a window you get a virtual console that can be sent to the background or bring to the foreground, and in which the specified application is running)
- apt install screen
Create a new user with a password, for example gameserver. All subsequent steps are performed under the created user. You can exit it with the 'exit' command.
-
Create a user and home directory
- useradd gameserver -s /bin/bash -m Specify the password for the created user
- passwd gameserver Go to user level
- su gameserver -l Create a folder where steamcmd will be installed and go to it
- mkdir steamcmd
- cd steamcmd Download the steamcmd archive and extract it
- wget https://steamcdn-a.akamaihd.net/client/installer/steamcmd_linux.tar.gz
- tar -xvzf steamcmd_linux.tar.gz Run steamcmd.sh, for this you need to be in the steamcmd folder
- ./steamcmd.sh
Download and install the game server.
-
Specify the download path for the Soulmask game server. Example location: /home/gameserver/steamcmd/soulmask/
- force_install_dir ./soulmask/ Enter login
- login anonymous Download the game server
- app_update 3017300 validate Quit steamcmd
- quit
Starting the game server.
-
Go to the soulmask directory
- cd ./soulmask/ Example start line:
- ./WSServer.sh Level01_Main -server -SteamServerName='MySoulmaskServer' -MaxPlayers=10 -PSW='serverpassword' -adminpsw='adminpassword' -pve -Port=8777 -QueryPort=27015 -log -UTF8Output -MULTIHOME=0.0.0.0 -EchoPort=18888 -forcepassthrough Change the values to your own. 'MySoulmaskServer' - server name, 'serverpassword' - password for connecting to the server, 'adminpassword' - server administrator password
You can also run the game server in the Screen window so that when the ssh connection is closed, the game server does not disconnect and continues to work.
-
Create a Screen session
- screen -S soulmask In the window that opens, start the game server
- ./WSServer.sh Level01_Main -server -SteamServerName='MySoulmaskServer' -MaxPlayers=10 -PSW='serverpassword' -adminpsw='adminpassword' -pve -Port=8777 -QueryPort=27015 -log -UTF8Output -MULTIHOME=0.0.0.0 -EchoPort=18888 -forcepassthrough To exit the created Screen session, saving its work, press ctrl+a then d To reopen the created Screen session, enter the command
- screen -r soulmask
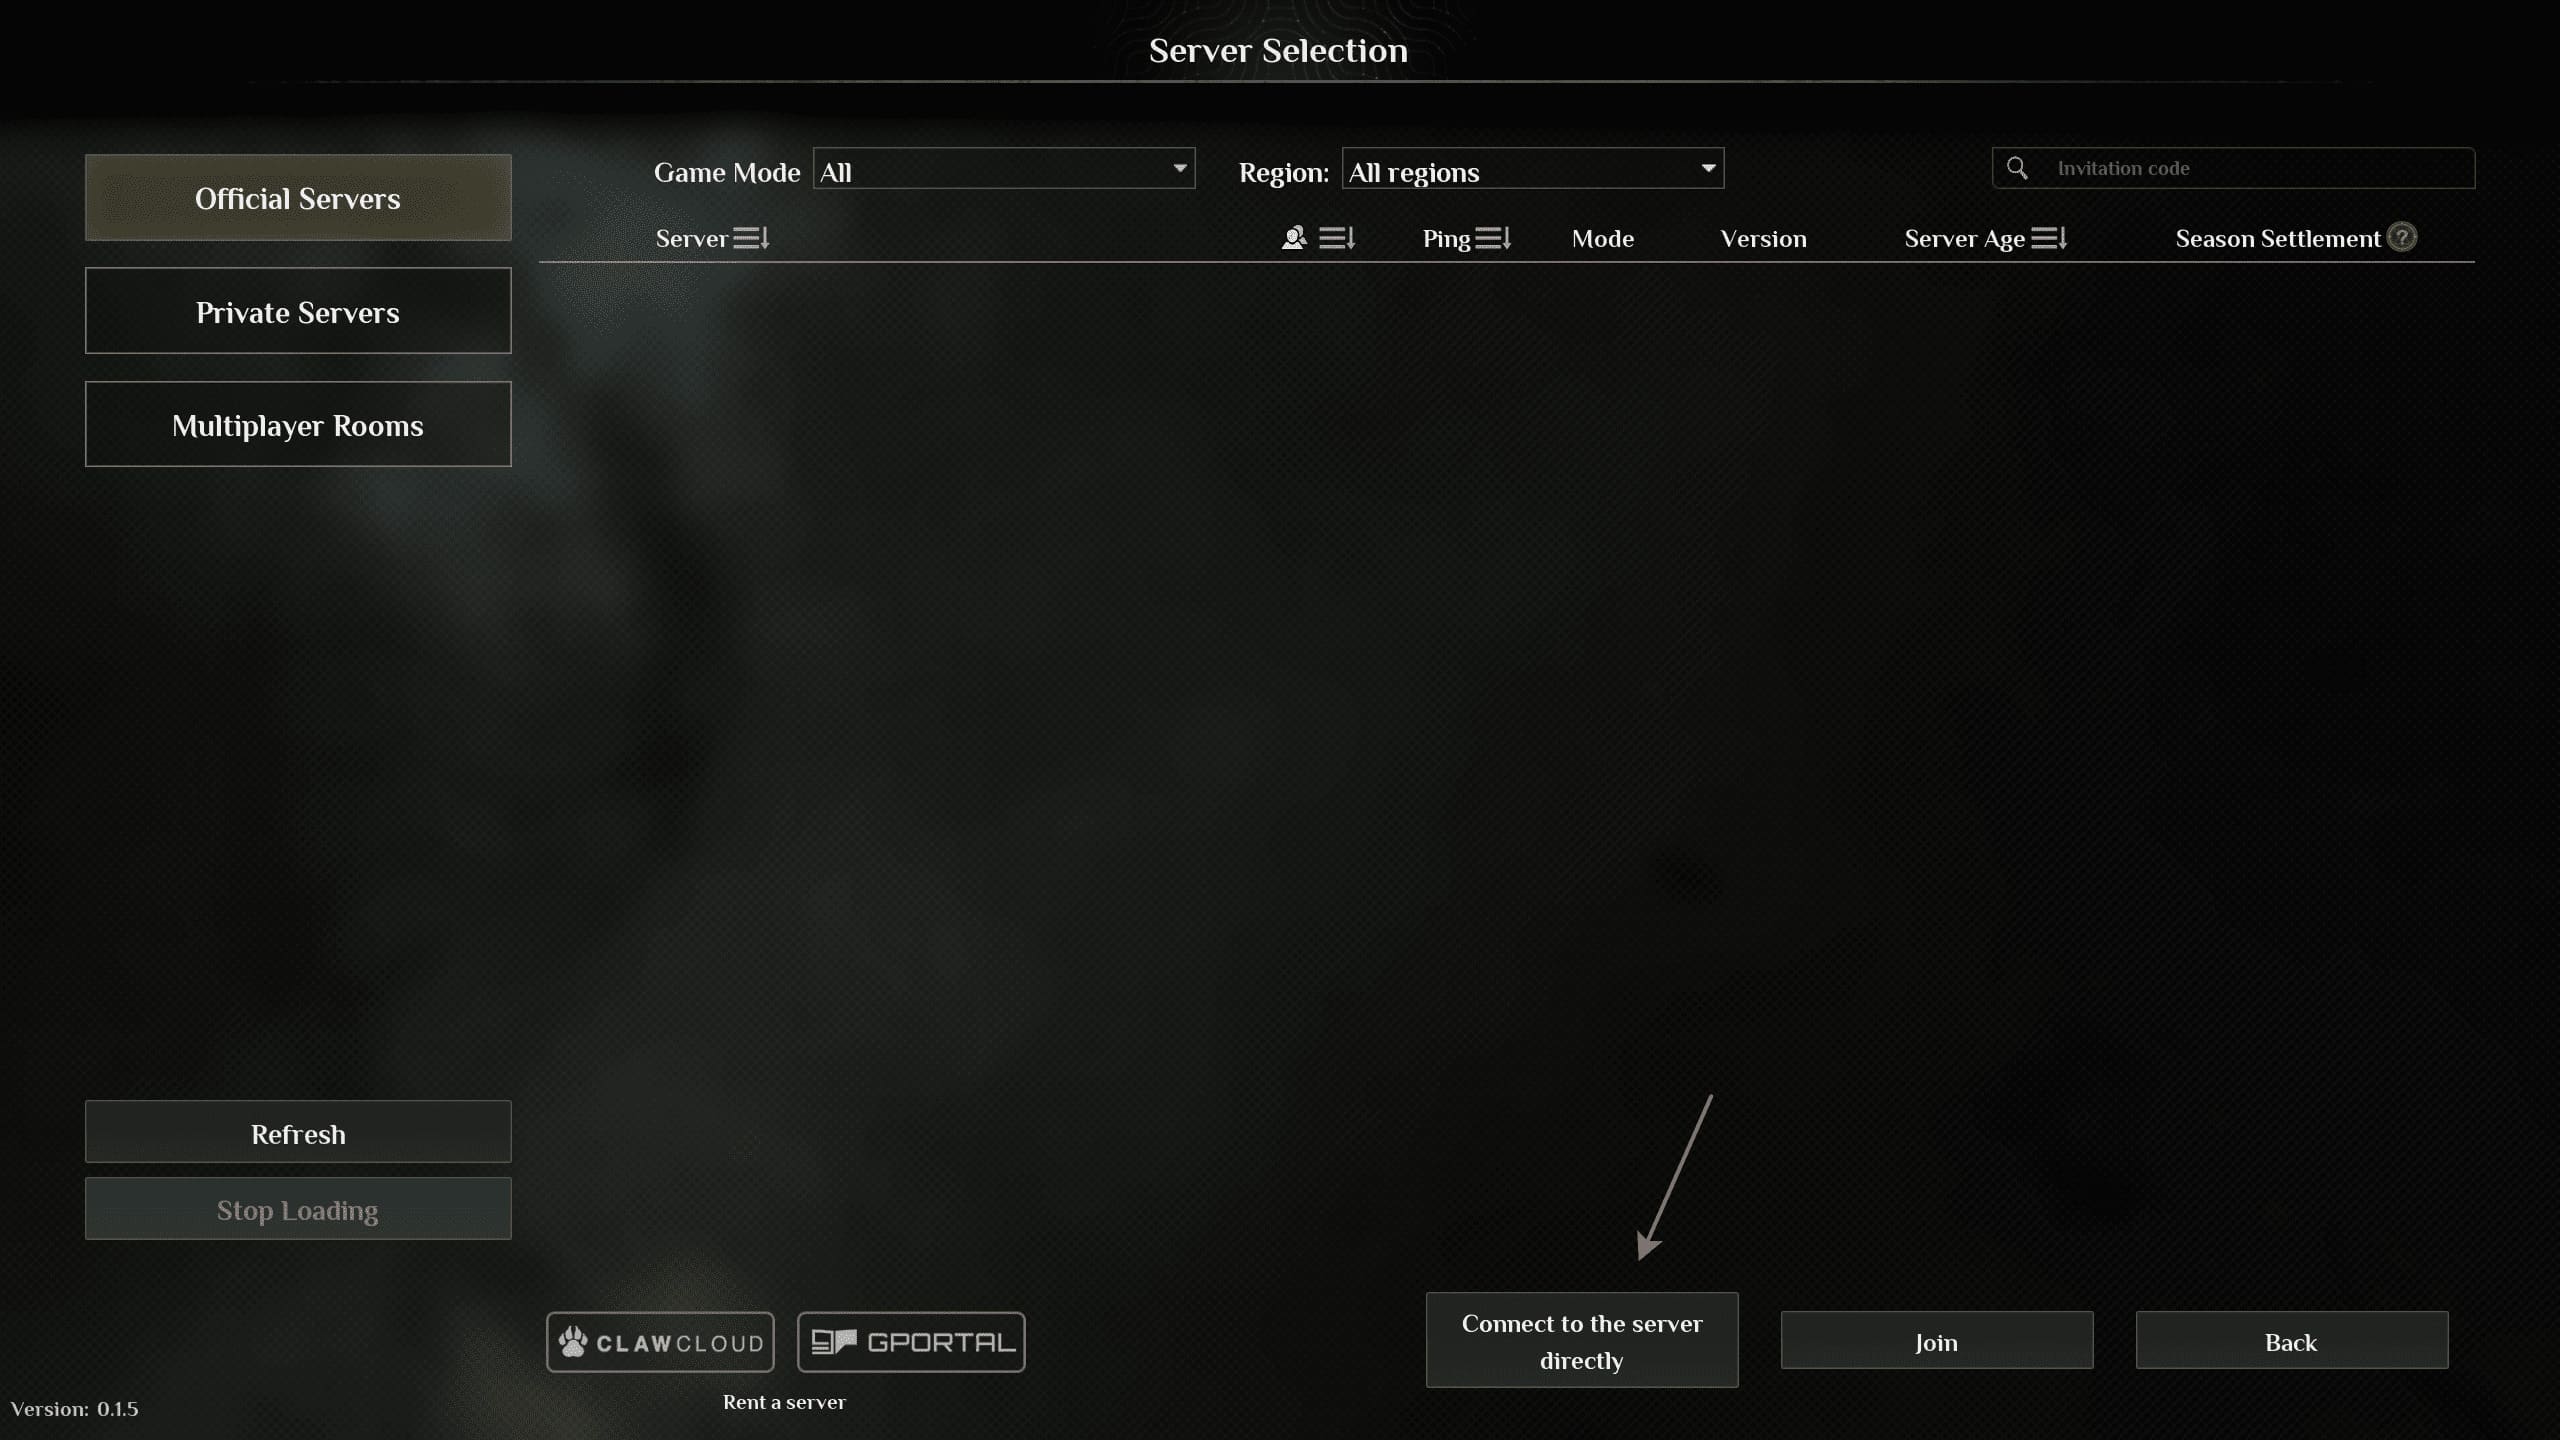
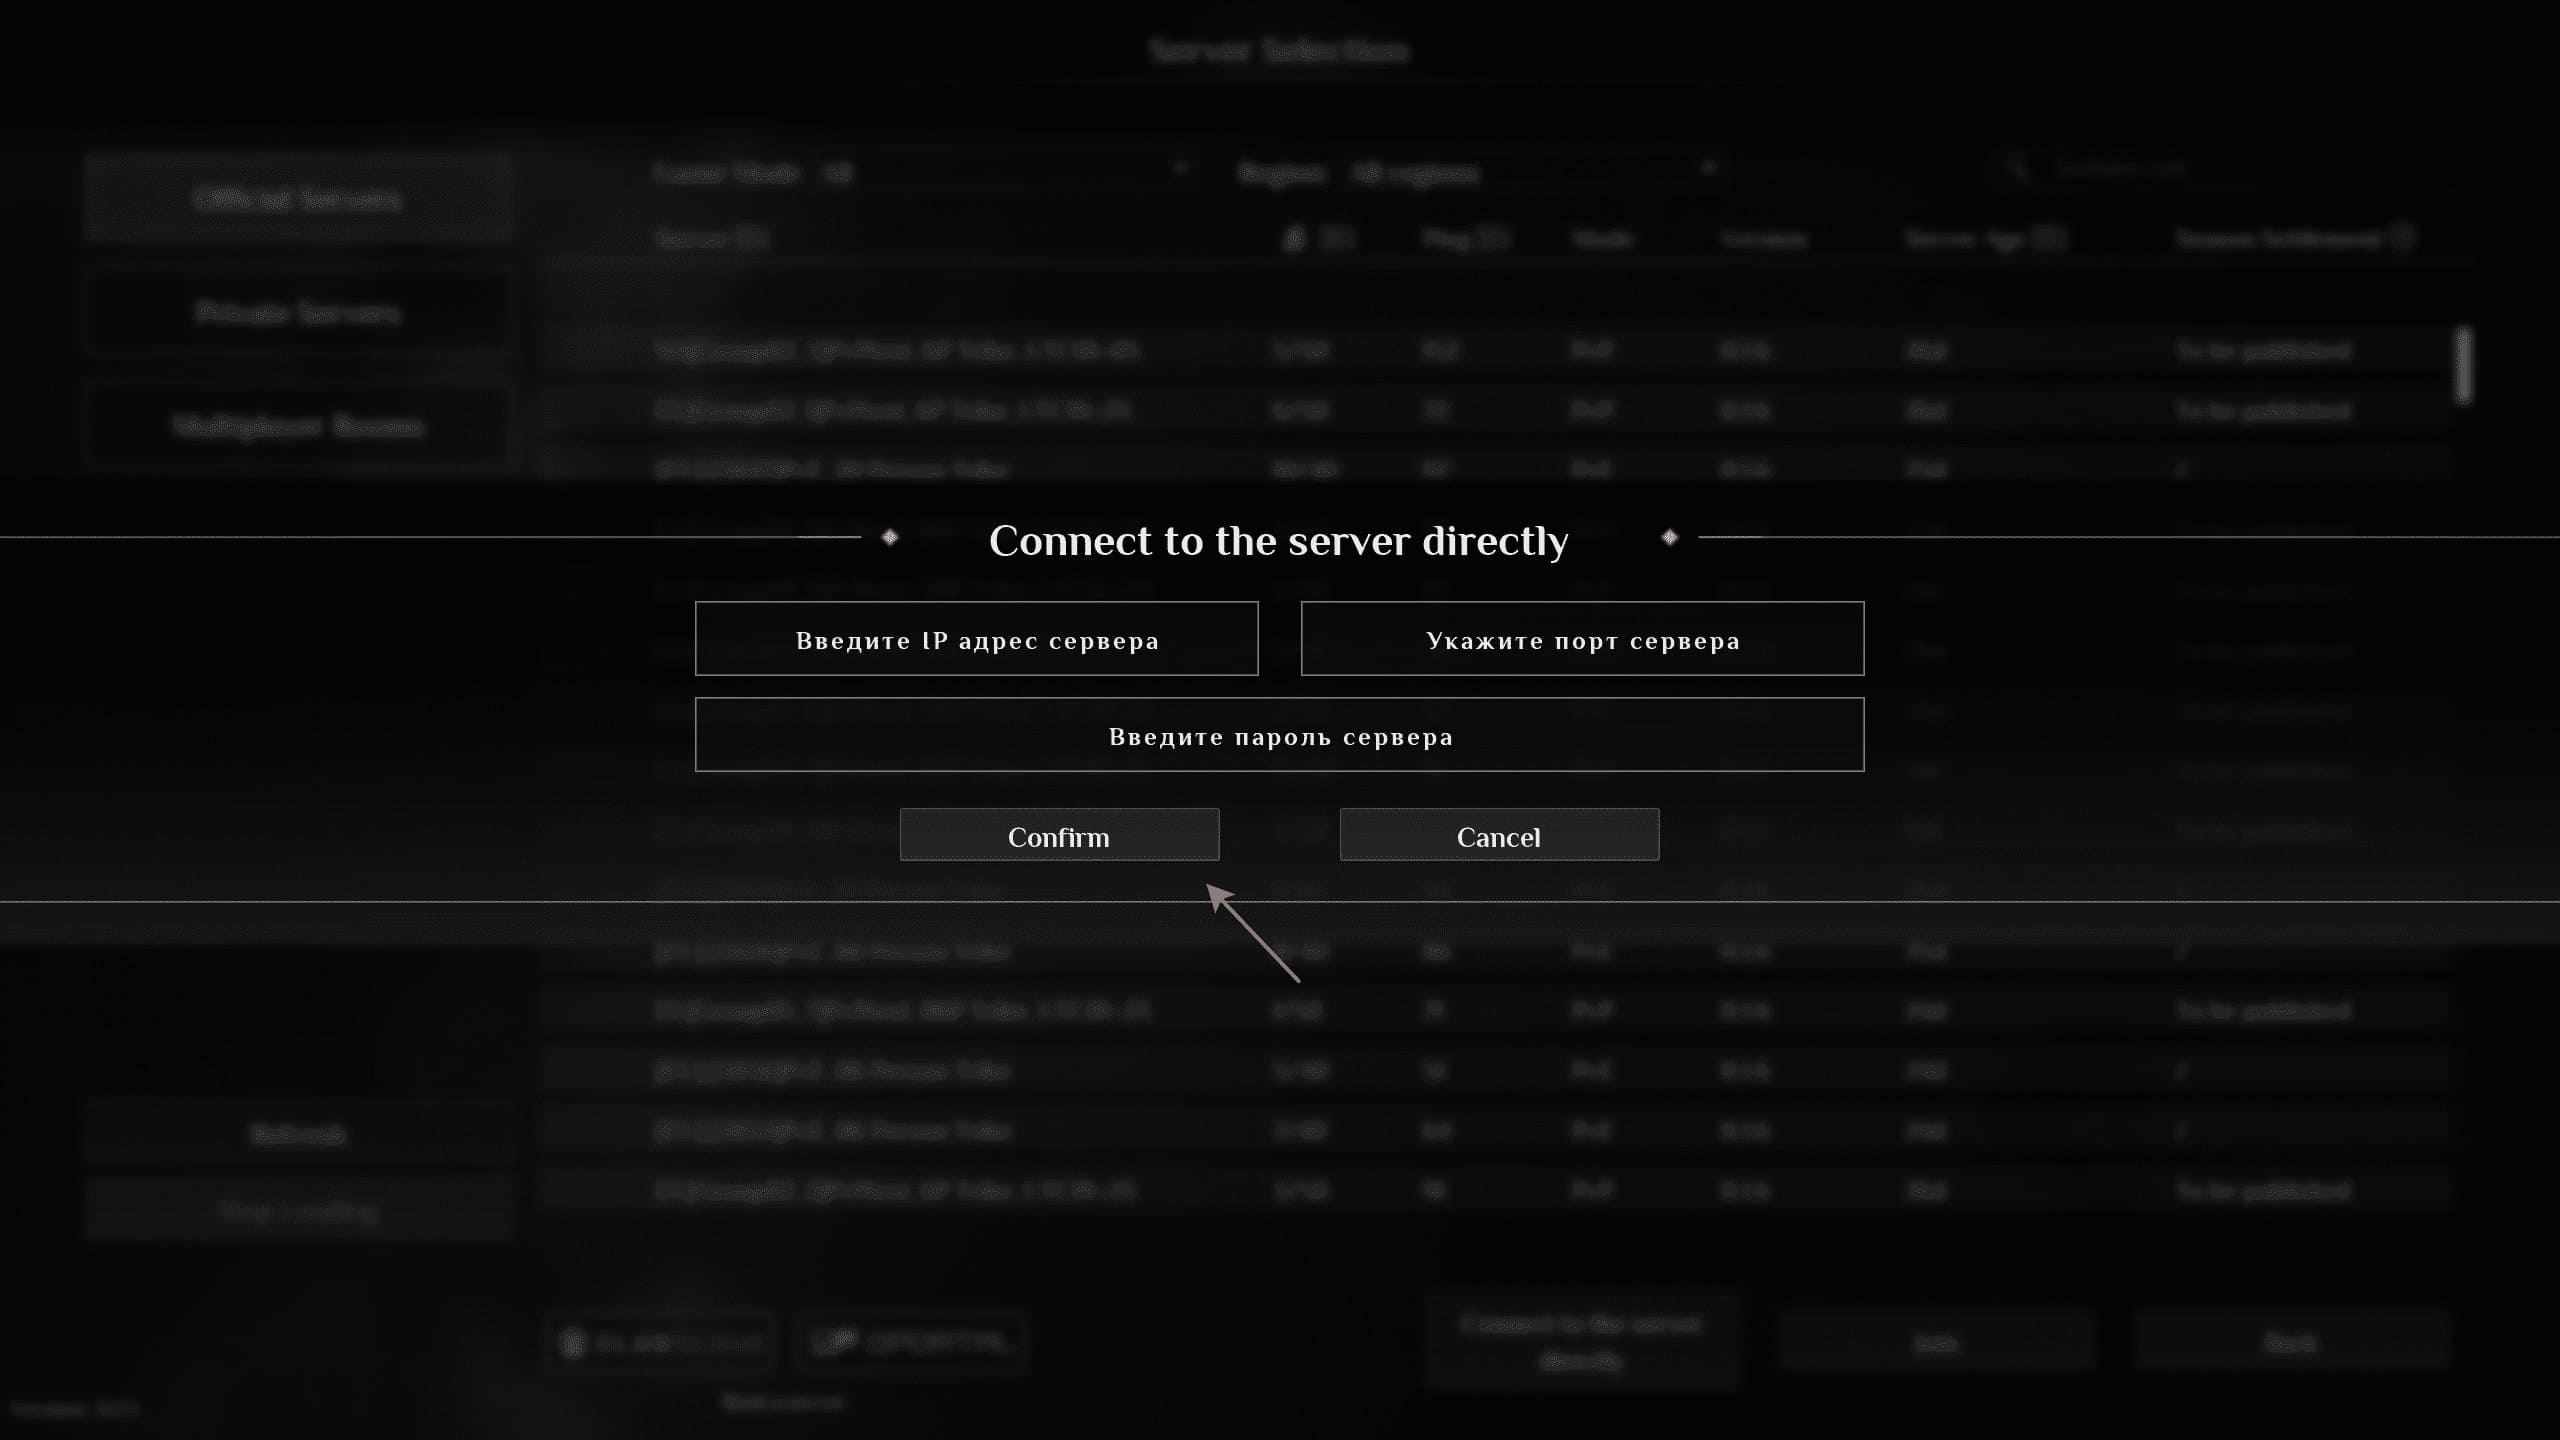
This completes the basic server setup and installation of the Soulmask game server. You can run the game on your PC and connect to the game server by specifying your server IP, port 8777 and the game server password.